DAY 2: Just Tie-It-On Hair Accessory

Monday, October 3, 2011

Yesterday was Day 2 of my Crafting Over Sweeting challenge.

Yay for no sweets at all yesterday!! I realize I may seem overly excited about this because after all the purpose of the challenge is to not eat sweets. You have to understand, Sundays for me means dessert… lots of dessert. I love cooking big Sunday dinners with all sorts of yummy treats to eat afterward. However, this Sunday I didn’t, and I’m pretty proud that I resisted the temptation to make a big, lovely chocolate cake (courtesy of Miss Nigella). So I say Hurray!

Hurray for one more day!

Now to introduce our Day 2 craft:

Just Tie it On Hair Accessory
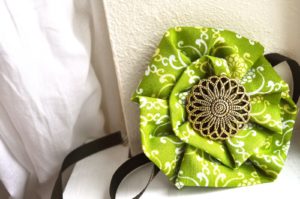

I like wearing this when I want to keep my simple and pulled back, but still want to be cutely accessorized.

For this craft you will need:
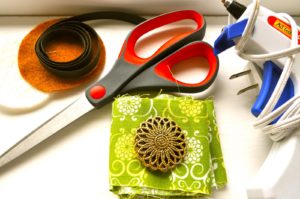
18-24 inches of ribbon
*Depending on headsize. Give a little extra since you will be tying it on. Mine measured at 22*

Two 2 1/2 inch circles
*One from quilt batting and one from felt. You could do both in felt if you prefer.)

2 1/2″ x 26″ strip of fabric
*I get mine from pre-cut jellyrolls*

1 Button
*Or other embellishment*

Glue Gun and Scissors

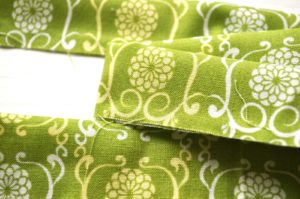
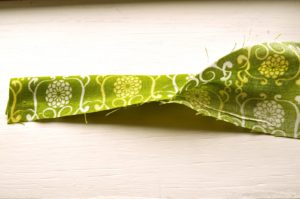
Take the fabric and glue the whole length in half, like so:

You’ll end up with this:

Take your quilt batting circle and put a dot of glue in the center.
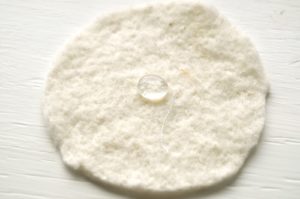
Place glued side of fabric strip on glue dot and press firmly
(Remember, do not burn yourself!).

Place another dot of glue on top of fabric strip.
Fold the fabric strip down onto glue dot and press down.

(Again, don’t burn yourself!)
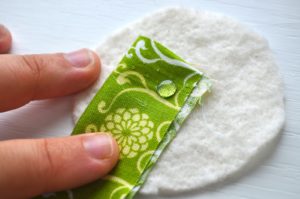

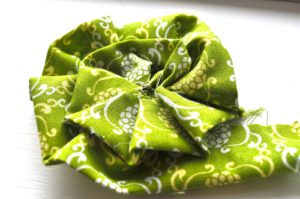
Now you are going to gluing the fabric around the middle point, kind of folding or scrunching the fabric as you go.
(I will say it again, be careful… glue guns are delightful, but they do have a nasty temper.)
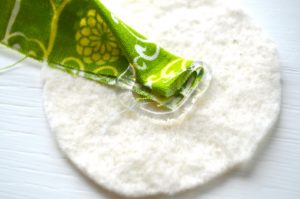
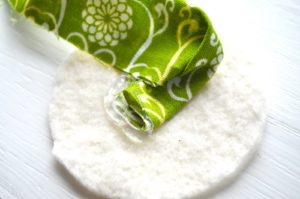

Keep going…
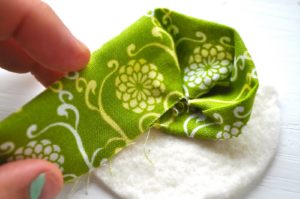

Glue, fold, scrunch, repeat.
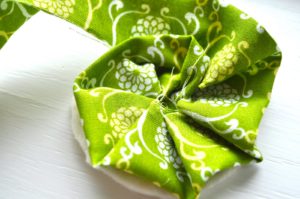
See it’s easy and getting so pretty!

**Helpful Hint: If any of the folds pop up, just discreetly secure with another dot of glue.**

You are going to have a little tale at the end. Place a dot of glue beneath the fabric and fold fabric inward to create a nice finished looking edge.
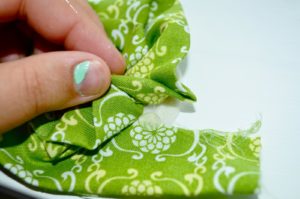
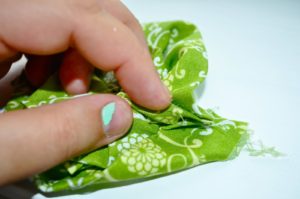
Then glue the rest of the tail on the back of the circle.

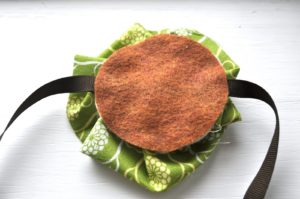
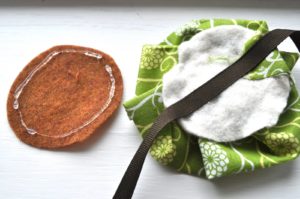
Before doing our next step, take the length of ribbon and figure out where you want to place your flower. Then glue a line on the back of the circle and secure the ribbon.
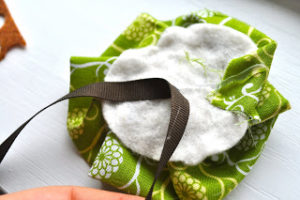
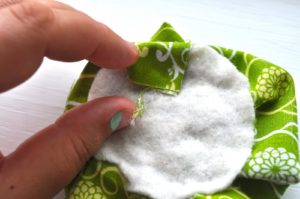
Take your felt circle and glue onto the back neatly cover everything up.


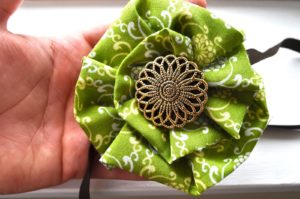
Take your awesome button and glue into center of folded flowery awesomeness.
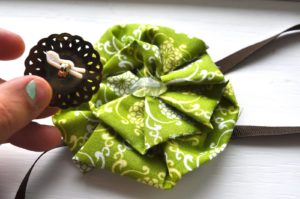
Ta-Dah! Just tie it on and your ready to go!

**Helpful Hint: My crafty friend Kayla gave me some great advice. To prevent fraying on the ends of the ribbon just singe it lightly with a lighter. The ribbon will kind of melt on the end and you’ll never fray again!)

Happy Crafting!


Leslie
October 3, 2011 at 6:40 PM
SOO cute!!! I LOVE that button, it gives the hair piece a lot of character!


Alix
October 4, 2011 at 7:19 PM
Cute!


Lisa @ Organized Chaos
October 4, 2011 at 7:55 PM
I love it! I’m obsessed with fabric flowers right now…this is an awesome tutorial!~ 🙂 Going to make this soon!
~Lisa
 

Day 1: Felt Flower Wreath

Sunday, October 2, 2011

Crafting Over Sweeting Day 1:

Felt Flower Wreath
For this craft you will need:
1 Wreath
*I followed Amanda’s example at The Penny Parlor and made it for under $1*
Assorted yarn of preferred colors
*yard sale find for about 5 cents*
2-5 sheets of felt
*depending on how many flowers you want to do.
Felt with cost about 30 cents, 20 cents if you find it on sale.*
Hot glue gun
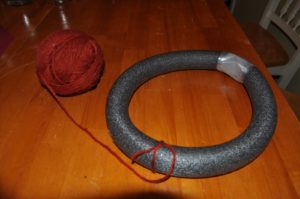
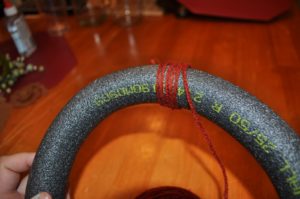
*my best crafting friend*Tie chosen color of yarn around wreath and knot securely. Use glue gun to secure knot in place of where you want the back of the wreath to be.
Start wrapping…

and wrapping…

**Helpful Hints: Having the yarn in a ball makes this process a lot easier. This is also a good time to turn on a movie, mine was the 80’s classic Pretty in Pink.)

Once you have completely wrapped the wreath in yarn, secure end of the yarn
with another dot of glue. There, you did it!

Now onto the felt flowers!
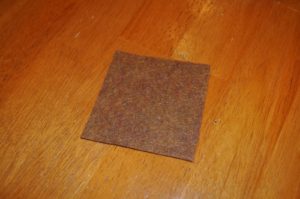
You can start from a square or a circle, whichever you prefer.
*Depending on what size of flower you want, you can really start with any size.
Mine were made with 3-4 inch squares. *


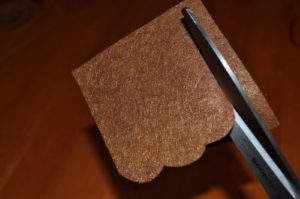
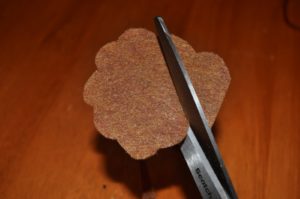
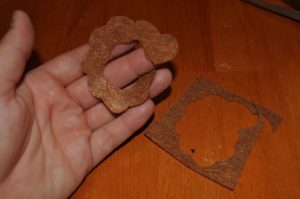
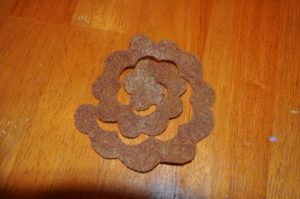
Make small scallop cuts into a spiral towards the center. One of the reasons I chose squares is because of the scalloped edges. Squares just seem to give a little leeway.

Cut of any remaining felt.

Aww, cute scalloped-spirally loveliness!


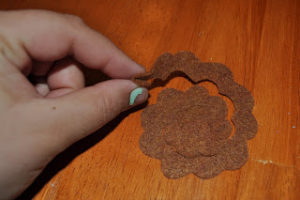
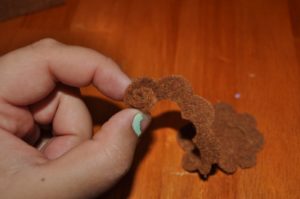
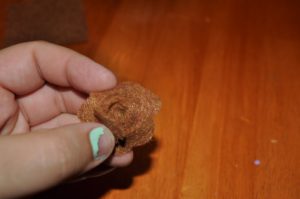
Now, you’re going to start wrapping the flower starting from the end.


Keep going!

Flip your flower over and glue end to the bottom with your nifty glue gun and…

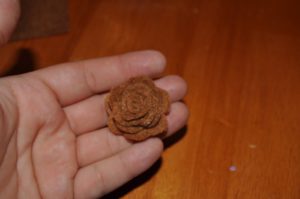
Ta-Dah!!

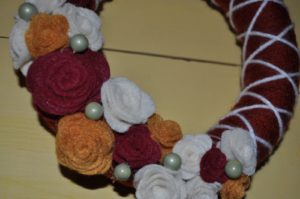
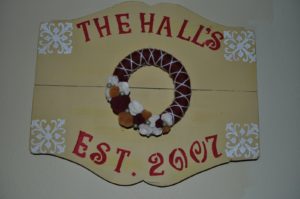
Now it’s the fun part. Play around and see what you like! After you’ve found out what you like and where you want everything, secure the flowers with glue. I used some balls from another wreath and added a criss-cross with white yarn to the wreath.

Happy Crafting!!

To dream about ice cream…

Saturday, October 1, 2011

As you know today was the very first day of the
Crafting Over Sweeting Challenge.
One day down only twenty more to go!I’ve had a couple of missteps today. Who knew that Double Mint gum had 2 grams of sugar PER STICK?? I sure didn’t! It probably didn’t help that before I discovered this I chewed four of them. *insert head hung in shame*

Okay, shame fest done. What today was really about was changing habits and realizing how much I actually eat sweets. It has been a long time since I’ve ever gone a day with out having some sort of little candy or baked good (knowingly) , and it feels really good! I’m getting even more excited for the next twenty days.

Today’s craft was a
Felt Flower Wreath

I love these! They are super easy, and a great way to add that fun-little-something to a room. They involve a lot of repetitive motions (wrapping the yarn around the wreath) and steps (lots of felt flowers), but there simple and perfect for a day filled with movies, fave TV shows,
or for me Conference. An added bonus of awesomeness, the
materials for this craft were under $3!! A-mazing. Are you getting excited??

I’ll be uploading the pictures and steps in the next few hours. Until then gather you’re felt, yarn and glue gun and get ready! 🙂


It’s been a while…

Monday, September 19, 2011
I know. I know. It has been a while. I’ve kind of been trying to figure out what I want to do with this blog. I know I want it, but I’ve been struggling to come up with what I want to post about.
So I thought and thought and thought… and then I finally decided.I want this blog to be about me. I know that sounds selfish, but here me out. I spend 24 hours of the day worrying and taking care of the little people and the hubs. Don’t get me wrong… I LOVE it. Seriously, I do. I don’t know what my life would be with out them, or who I would be without them. The fact remains that just for a little bit during the week, I want to focus on me. That’s what this blog will be about.

So hang in there. I’m still here, and if you’re still hanging around maybe we can be friends… ok?


Leslie
September 19, 2011 at 5:12 PM
I am so excited! Can’t wait for more posts. I think it is great that you will be posting about you. I definitely don’t think it is selfish


A First Love

Thursday, July 14, 2011
When I discovered Etsy, it was truly a beautiful day. How can you not love almost everything on there? Seriously. Quite honestly, if I had a million dollars I would blow it all on Etsy. Every vintage purse, handmade bracelet, magnetic chalkboard, vinyl wall art, made-to-order paper maiche figurine… everything! We are talking some serious love here people.

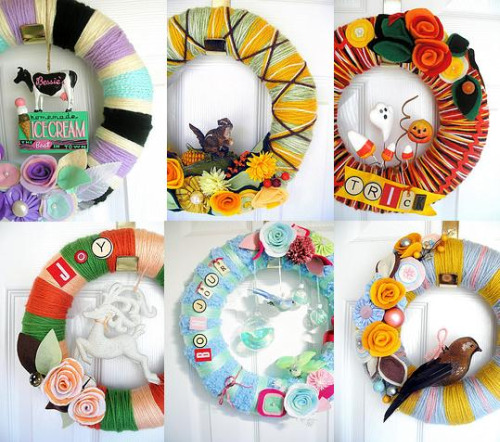
Today, I would like to introduce the first thing that guided me to one of my first loves. I was blog-hopping one day and came across the CUTEST wreath. It was different shades of baby blue yarn with glass balls, lettering and all sorts of amazingness. It was vintage, whimsical and modern all at once… needless to say, I was in love.That is how I found Agnes at Knock Knocking. Here is just a sampling of the awesome things she creates:

Beautiful.

They are seriously like little pieces of candy, I want to just eat each one! The detail she puts into each one is just perfection.

After my second son was born I attempted to re-create one of these… needless to say, I did not do it justice. For those who want to save some money it is possible and I will post a tutorial at a later date.

On the other hand, if I had a million dollars I would buy hundreds of these wreaths.