Day 6: Fabric Rosette

Saturday, October 8, 2011

I’m still trying to catch up from not posting a couple days ago, so tonight I have two different craft tutorials… for reals. The day before yesterday was day 6 of the

Crafting Over Sweeting Challenge

Time for my Sweeting update!
Sweets eaten: 0… yay!
Sweets craved: 0
I think it may have had something to do with the trip to the ER,
though I would rather be in a room filled with sweet deliciousities
I couldn’t eat then do THAT over again.

The day 5 craft was:
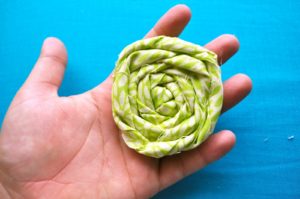
Fabric Rosettes

These are so adorable and so easy to make. You can also use them for so many things!
T-shirts, jewelry, home decor, headwear… you name it! I am going to be making lots of these for an accent pillow I’m putting together for our bedroom and I’m so excited.

For this craft you will need:
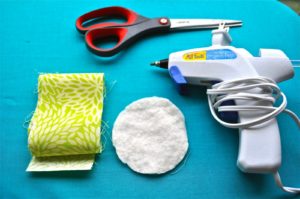

A strip of awesomely cute fabric
*The length really depends on how big you want your rosette.
Longer for a bigger flower and shorter for a smaller one.*

Your trusty glue gun

1 circle cut from quilt batting
*I started using quilt batting because once upon a time that’s all
I had to work with. Now, I like using it because it a little softer and
will kind of contour to the fabric.*

That’s it!

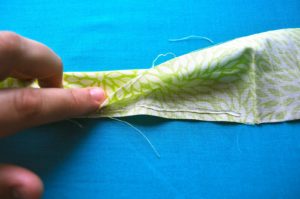
Glue your strip of fabric in half
*If you arent’ using PRINTED fabric, feel free to skip this step.*
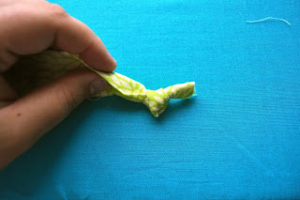

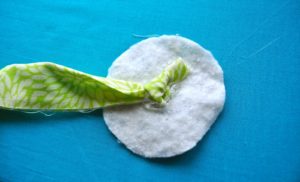
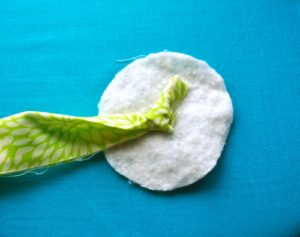
Tie a knot at one end


Glue knot into center of your circle


Put glue around the knot


Twist your fabric and place it on the glue
while going around the knot.

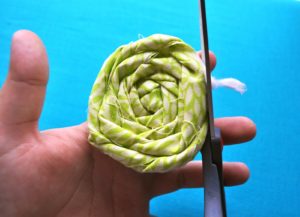
Glue, Twist, Wrap, Repeat.
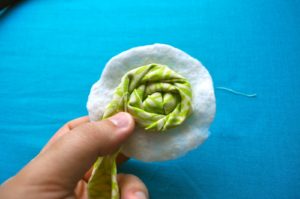

Oh my goodness… have I mentioned I LOVE these!
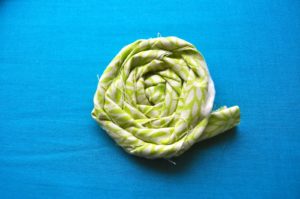

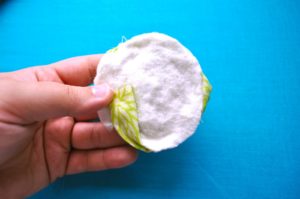
Glue your tail underneath the rosette

Trim any of the batting the might be sticking out and..


Viola!


Happy Crafting!!

1 week down, 2 more to go!

Saturday, October 8, 2011

Well, it yesterday marked the end of the first week of the

Crafting Over Sweeting Challenge

First for the Sweeting update:

Sweets eaten: 0

Sweets craved: Too many to list :DI feel so good! This challenge has just been amazing for me. I still crave sweets, but I don’t think that will change anytime soon. I’ve also had few missteps, but all in all I’m pretty proud of myself. Before this challenge I was eating half pan of brownies or a dozen cookies at one sitting… no joke. Now, I can just go without and the only feeling I can describe is RELIEF. I’m slowly but surely getting healthier and stronger… I can feel it and not just physically, but emtionally and mentally too. I also feel that if I can do this, I can really do anything!

Onto our Craft of the Day!

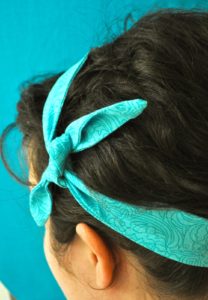
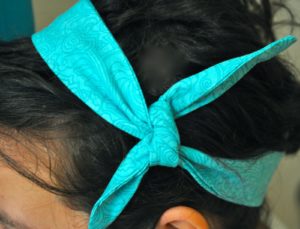
Tie It In a Knot Headband


I LOVE this headband! I am at home most of the day and I just like something that is cute, comfortable and keeps the hair out of my eyes while I’m chasing my little boys. It’s a headband that will make you think “Wow, I look cute today!”… and how can that be bad? 🙂

For this craft you will need:

Two 2 1/2″x 36″ strips of lovely fabric
*I like using fabric from pre-cut jellyrolls and trimming to size*

Sewing Machine

Iron and Ironing board

Wooden kabob skewer
*You’ll see why, just trust me*

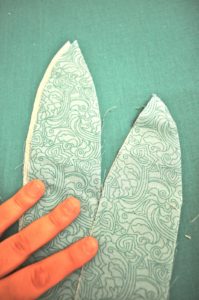
Take you two strips of fabric and taper both ends.
*I start about 4 inches up and curved toward the end*


Put the two strips together, with the printed sides facing towards each other

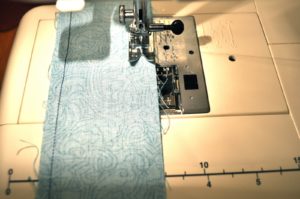
Start sewing about 5 inches from one of the ends and continue your way around ending
about an 1 inch from where you initially started.
*This is going to make your opening to pull your fabric through when you’re flipping it inside out.*


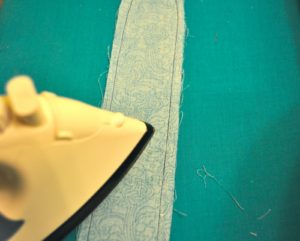
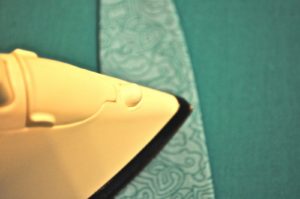
Press the seams the seam with the iron


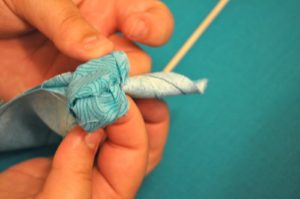
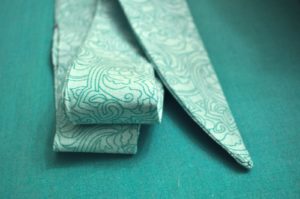
Beginning with the shorter side, pull your fabric through the opening you made
** Helpful Hint: If you forgot to make the opening (like I did the first time), just use
scissors or a seam ripper to make one. Again, do it 5 inches from one of the ends.**


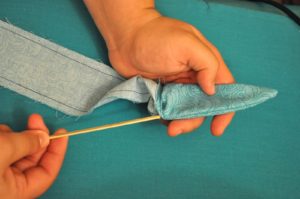
Use your wooden kabob skewer to help pop out the point.


Continue flipping the fabric inside out.

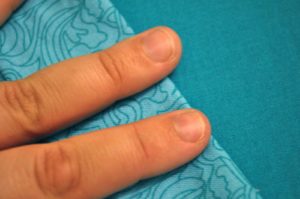
Now that you have flipped it inside out finger press along the edges.


Iron to make nice, neat and oh so pretty.


Oh. My. Goodness.


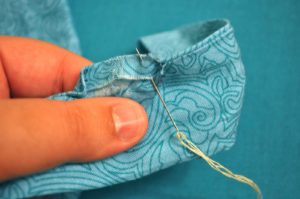
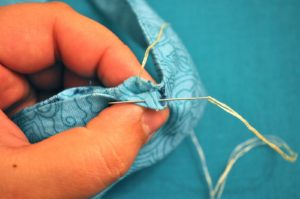
Now just sew up the opening!
*you can hand sew or just sew it close on your machine.
You really won’t see it because it will be in the knot when you tie it on.*


SO CUTE.


Happy Crafting!!

Linked up to:
Be Different Act Normal
Tater Tots and Jello
i heart naptime
http://funtocraft.blogspot.com/


Still crafting…

Friday, October 7, 2011

Yesterday was supposed to be Day 5 of the

Crafting Over Sweeting Challenge.

After an all-nighter with a little man who couldn’t breath well, which ended in a trip to the ER, I just didn’t have the time (or energy) to post my craft of the day. My son is doing oodles better and is back to his normal, playful self. This challenge is fun and I love it, but being a Mommy comes first… always.

I still want to stay on track, so today I will be posting two crafts.

The other will be posted later tonight.

Okay, It’s time for our Sweeting update!

Sweets eaten: 1 teaspoon of syrup… if that.

Remember how I mentioned that this challenge requires more thinking then I thought it would?
This was one of the moments. Before you could say “HOLY SUGAR BATMAN!” I had taken a bite of my son’s french toast without thinking about it. Is it okay if we just blame this one on the lack of sleep? Thanks.

Sweet cravings: This. Need I say more?

Onto the Crafting update! The Day 5 craft is:

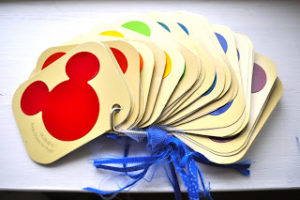
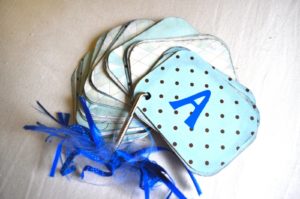
Paint Swatch ABC’s


When we go to Home Depot the first thing my oldest son wants to go see are the Disney paint samples by BEHR. We usually let him get a couple (or a lot).

It has to be the fact that they make them in the shape of Mickey Mouse that makes them so
gosh darn appealing. That, and have you ever read the names?
Who wouldn’t want paint their room “Neverland” or “Happily Ever After”??

After having many a paint sample pile up in our car I finally
decided to make this little ABC book and the boys absolutely love it!
It’s also helpful when I want to decide what color to paint their room. 😀

For this craft you will need:

31 paint swatches

*I did numbers as well as letters and did 2 numbers per swatch*

3 sheets of scrapbooking paper

1 Keyring

Assorted ribbon

*I did a mixture of tulle, ribbon and fabric*

Letter stickers

Glue

Hole Punch

Cutting tools

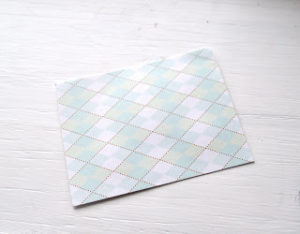
Cut scrapbook paper to 2 1/2″ x 3 1/4″

Glue onto back of paint swatch

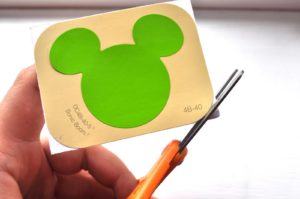
The corners of the swatch are rounded

so cut the excess scrapbook paper off.

Put the colors in an order you find pleasing to the eye 🙂

then attach your stickers on the scrapbook paper side.

Hole punch in one corner of the swatch and place them on the keyring.

Add a your lovely ribbon and…

So fun, so simple and did I mention you can do it for FREE.
A-mazing.
Happy Crafting!

Oh for the love of bookmarks!

Wednesday, October 5, 2011

As you know by now yesterday was

Day 4 of the Crafting Over Sweeting challenge.

It’s time for the Sweeting update!

Sweets eaten- Nada.

Sweet cravings- Surprisingly, none.
By George I think this challenge is working!

I tried to voice my frustration of this week’s craft in the title. Holy Moly!
Usually these crafts take me a day, maybe two.
This one took me three. Yep, three. For a bookmark.

Sometimes crafts just click. You know what you want to do, what colors
you want to do it in and how you want to do it.
Other times you just need to fail ( sometimes a whole lot)
before you complete something you love.

I LOVE the finished version of this week’s craft! I think the reason I love it
so much is because I went through so many failed versions
of it before I finally made the one I love.

Now for our Crafting update. This week’s featured craft is the:
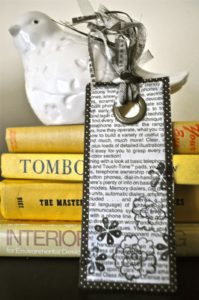
Shabby Stamp Bookmark


For this craft you will need:


1 Book page
* I got this page from a worn and slightly dilapidated 1980’s book about telephone repair.
If you just can’t pull yourself to getting one from a book though (which I completely
understand) just print off the words of your favorite book on cream card stock. *

1 sheet of card stock
*I like the decorative variety, but to each their own.*

1 eyelet
*any size you prefer, I used large*

Assorted stamps and ink
*Mine were from Wal-Mart for under $1*

Small scraps of ribbon, fabric and tulle

Gluestick

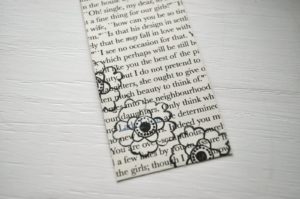
Cut the book page to 2″x 5″ Cut the cardstock to 2 1/2″ x 5 1/2″ Stamp your bookpage with preferred stamps
**I also took a papertowel, dabbed it in ink and rubbed a litte
around the edges of the bookpage.**

Glue together together the two pieces, putting the bookpage on top.

Cut a hole towards the top and insert you eyelet.

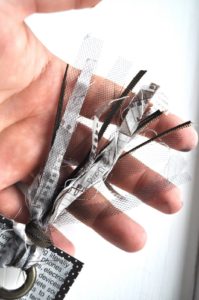
Tie ribbon, tulle, and fabric strips into the opening of the eyelet.


Happy Crafting!

Linked up to:
http://sumossweetstuff.blogspot.com/
http://somedaycrafts.blogspot.com/
http://www.bluecricketdesign.net/
http://sweetpeasandbb.blogspot.com/2011/10/what-i-made-wednesday.html


Brittney Belle
October 5, 2011 at 12:30 PM
So cute Eliza!!!


Leslie
October 5, 2011 at 4:40 PM
Love this! I think I will have to make me one of these.


ELIZA
October 6, 2011 at 8:33 PM
Thanks you guys! They really are so super easy, I’m want to throw a book themed party just so I can make them for favors.


Craft Day 3: Simply Circle Fall Wreath

Tuesday, October 4, 2011

I’ve decided just to do quick updates on the sweet-eating part of the

Crafting Over Sweeting challenge.

I think this will just be better all around since I realize I am a bit long winded

and I know what you guys really want to see… the crafts!

Sweets eaten: 0

Sweets I desperately wanted to eat:
$1 bin candy movie from Wal-Mart
(It was actually only 98 cents yesterday,
so you can see how I was doubly tempted.)
&
Cinnamon ice cream from here
(It was actually hard for me to post that link and
look at their website. It’s so delicious my tastebuds are slapping
me for denying them such ice creamy goodness.)

Today’s featured craft is the
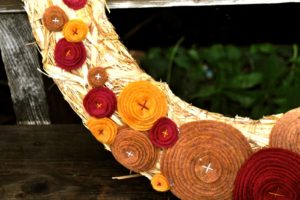
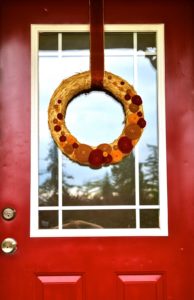
Simply Circle Fall Wreath


For this craft you will need:

1 Straw Wreath
*these run for about $4.99*

8 sheets of felt in preferred colors
*I chose gold, maroon, and a lighter brown*

Embroidery thread and needle

Your trusty hot glue gun
*come on, by now you knew that was coming*

Start by cutting out your felt circles.
(Have you turned on your favorite movie yet, because
now is the time!)

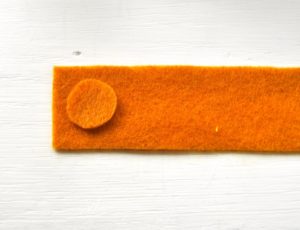
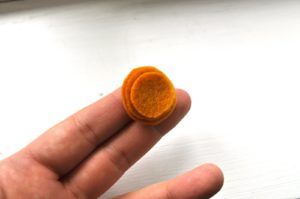
First, cut out what will be your smallest circle.
(my smallest ranged from 1 inch, for the big circle stacks
and 1/2 inch, for the small circle stacks.)


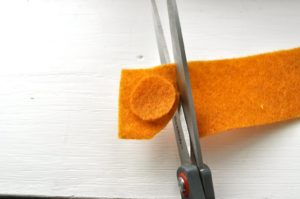
Place your small circle on top a piece of felt and cut around it,
making the bottom circle slightly bigger than the top circle.


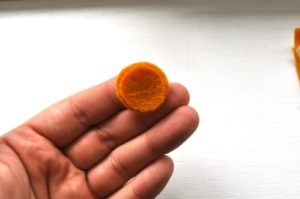
Repeat this step until you circle stack is the size you want it to be.
(My biggest circle stacks had about 12 layers.)


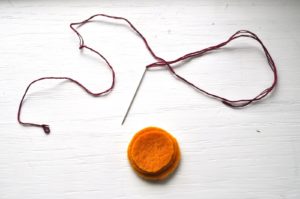
Thread your needle with chosen embroidery thread.
(I use 3 strands.)


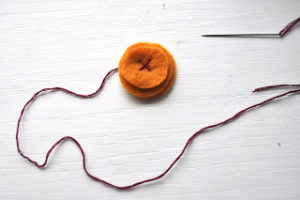
Come up through the bottom & make an X in the middle of the circles.


Repeat these steps until you have enough (or have had enough!).

Place and glue your circles.

I just love this wreath! It’s modern, simple and so much fun.
Not to mention perfect for fall!


Happy Crafting!

Linking to:
http://www.notjustahousewife.net/
http://sumossweetstuff.blogspot.com/
http://www.skiptomylou.org/


Leslie
October 4, 2011 at 2:34 PM
This is a great tutorial and such a cute wreath!! I still need to make a wreath for my door but now I kinda want to paint my door a cute red color to have it all fit together =)


Lisa @ Organized Chaos
October 4, 2011 at 7:52 PM
Awesome! I just love wreaths and this one has great Fall colors! ~


ELIZA
October 6, 2011 at 8:36 PM
@Leslie – That is one of the reasons I loved our house was because it had a red front door… I just love it!
@Lisa- I know I am such a fan of fall colors. Deep reds, golds and multi-hued browns… you just can’t go wrong!