Friday, October 7, 2011
Yesterday was supposed to be Day 5 of the
Crafting Over Sweeting Challenge.
After an all-nighter with a little man who couldn’t breath well, which ended in a trip to the ER, I just didn’t have the time (or energy) to post my craft of the day. My son is doing oodles better and is back to his normal, playful self. This challenge is fun and I love it, but being a Mommy comes first… always.
I still want to stay on track, so today I will be posting two crafts.
The other will be posted later tonight.
Okay, It’s time for our Sweeting update!
Sweets eaten: 1 teaspoon of syrup… if that.
Remember how I mentioned that this challenge requires more thinking then I thought it would?
This was one of the moments. Before you could say “HOLY SUGAR BATMAN!” I had taken a bite of my son’s french toast without thinking about it. Is it okay if we just blame this one on the lack of sleep? Thanks.
Sweet cravings: This. Need I say more?
Onto the Crafting update! The Day 5 craft is:

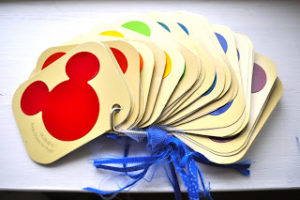
When we go to Home Depot the first thing my oldest son wants to go see are the Disney paint samples by BEHR. We usually let him get a couple (or a lot).
It has to be the fact that they make them in the shape of Mickey Mouse that makes them so
gosh darn appealing. That, and have you ever read the names?
Who wouldn’t want paint their room “Neverland” or “Happily Ever After”??
After having many a paint sample pile up in our car I finally
decided to make this little ABC book and the boys absolutely love it!
It’s also helpful when I want to decide what color to paint their room. 😀
For this craft you will need:
31 paint swatches
*I did numbers as well as letters and did 2 numbers per swatch*
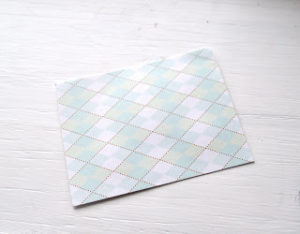
3 sheets of scrapbooking paper
1 Keyring
Assorted ribbon
*I did a mixture of tulle, ribbon and fabric*
Letter stickers
Glue
Hole Punch
Cutting tools
Cut scrapbook paper to 2 1/2″ x 3 1/4″
Glue onto back of paint swatch
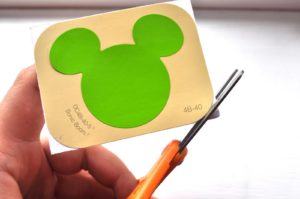
The corners of the swatch are rounded
so cut the excess scrapbook paper off.
Put the colors in an order you find pleasing to the eye 🙂
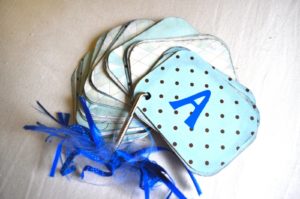
then attach your stickers on the scrapbook paper side.
Hole punch in one corner of the swatch and place them on the keyring.
Add a your lovely ribbon and…


