Monday, September 30, 2013
We recently decided to redo the paint and decor in our master bedroom (and when I say “we” I really mean “me”, for it was not at all my husband’s idea.). I loved the art that was above our bed (which you can see here) but I have three young children who can often cause mass destruction, and are above bed decor was one of their most favorite targets. I realized it was time for it to go and since then have been trying to figure out what I should put in it’s place. I’ve always loved the idea of doing state silhouettes. We are a military family and have lived in many wonderful places and I thought it would be the perfect way to remember each of the states we at one point called home.

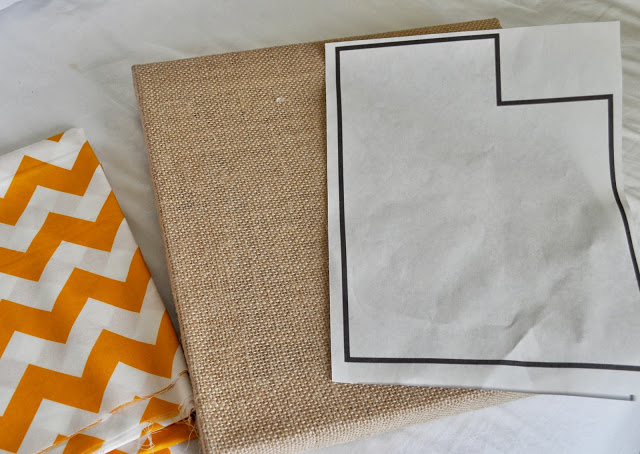
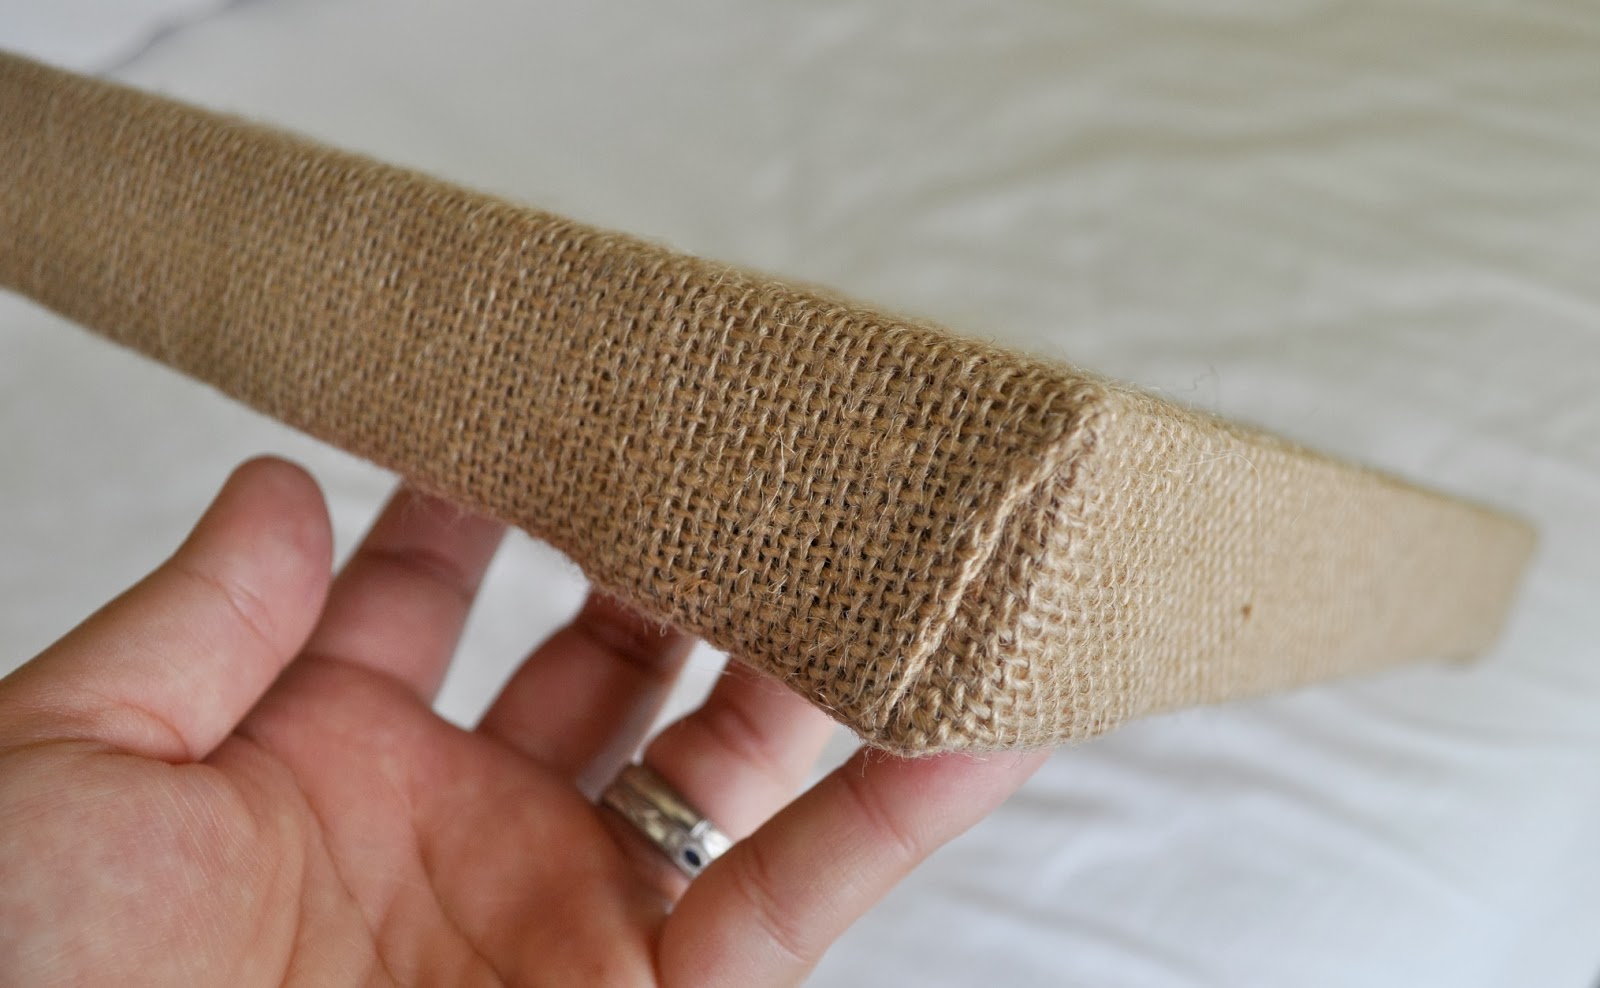
I was SO excited when I found these burlap canvases. They were exactly what I was looking for and look how awesomely thick they are!
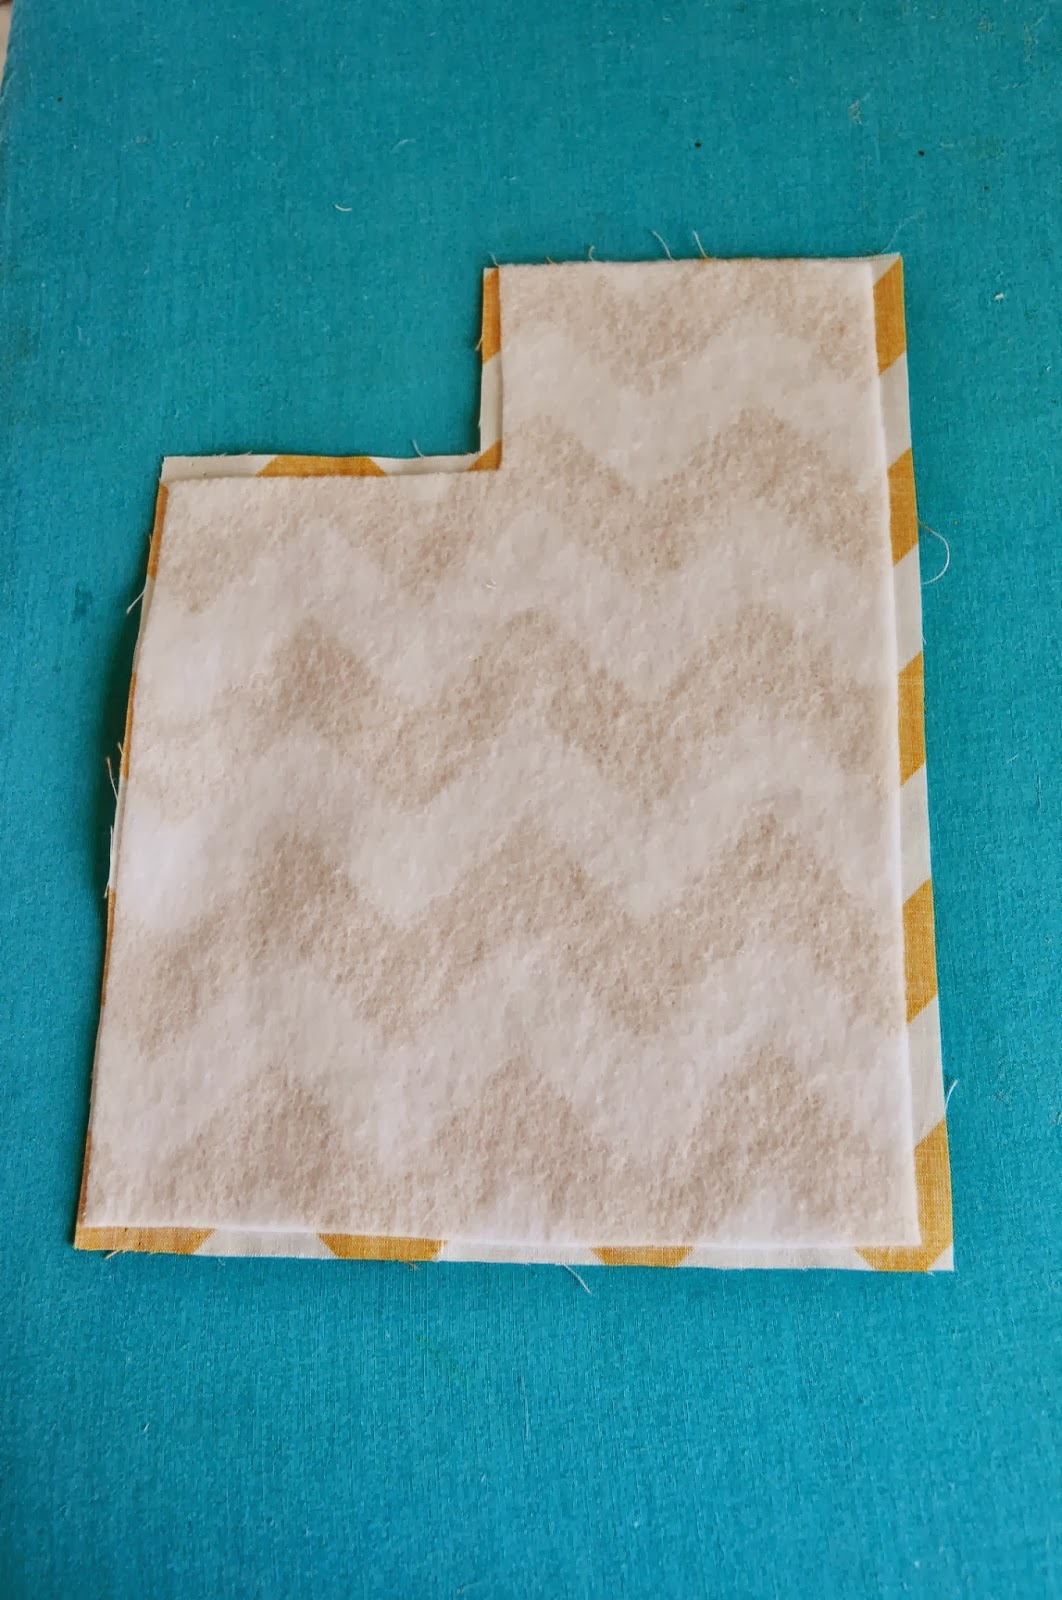
I am fastly discovering all the amazing uses for freezer paper. This time I used it to cut out my image for the state of Utah. After printing off the image I was using onto freezer paper, I simply ironed it onto the front of the fabric.
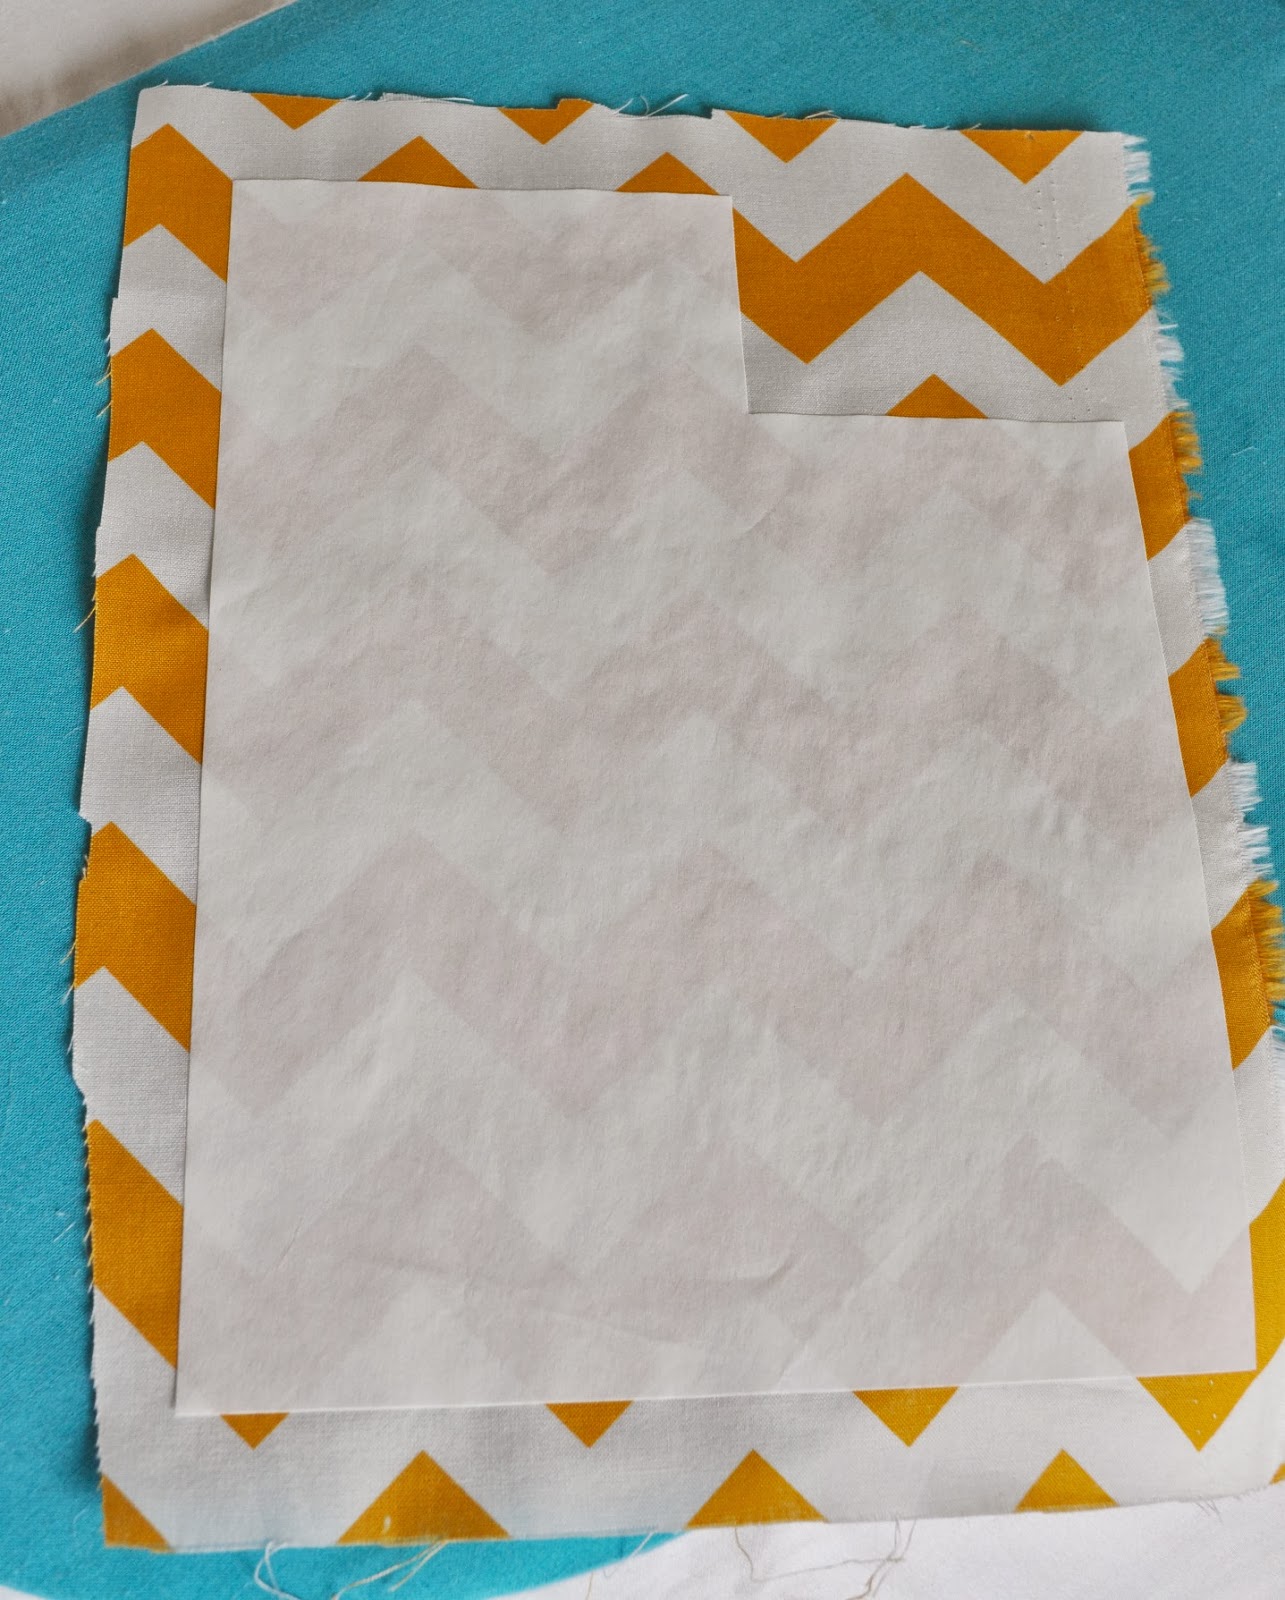
Next, I just cut around the image.
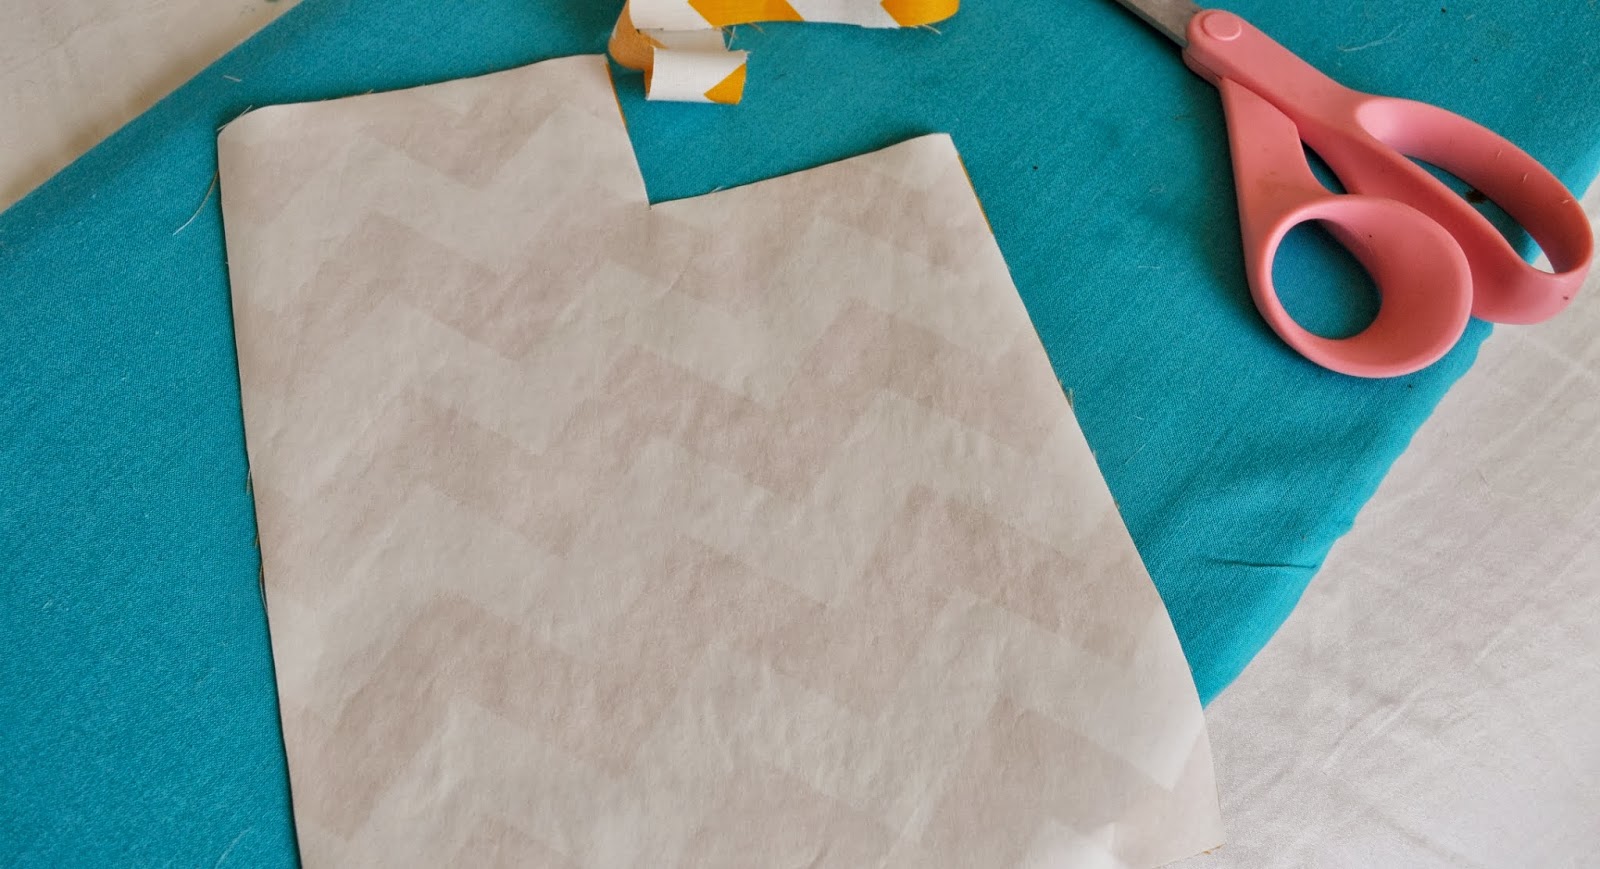
I realized later that it probably would have been a lot easier to iron on the whole sheet of freezer paper, instead of cutting the shape out before hand. At least it will be easier next time around!
I love how easily the freezer paper just peeled off… oh freezer paper, I am falling fast in love with your crafting capabilities.

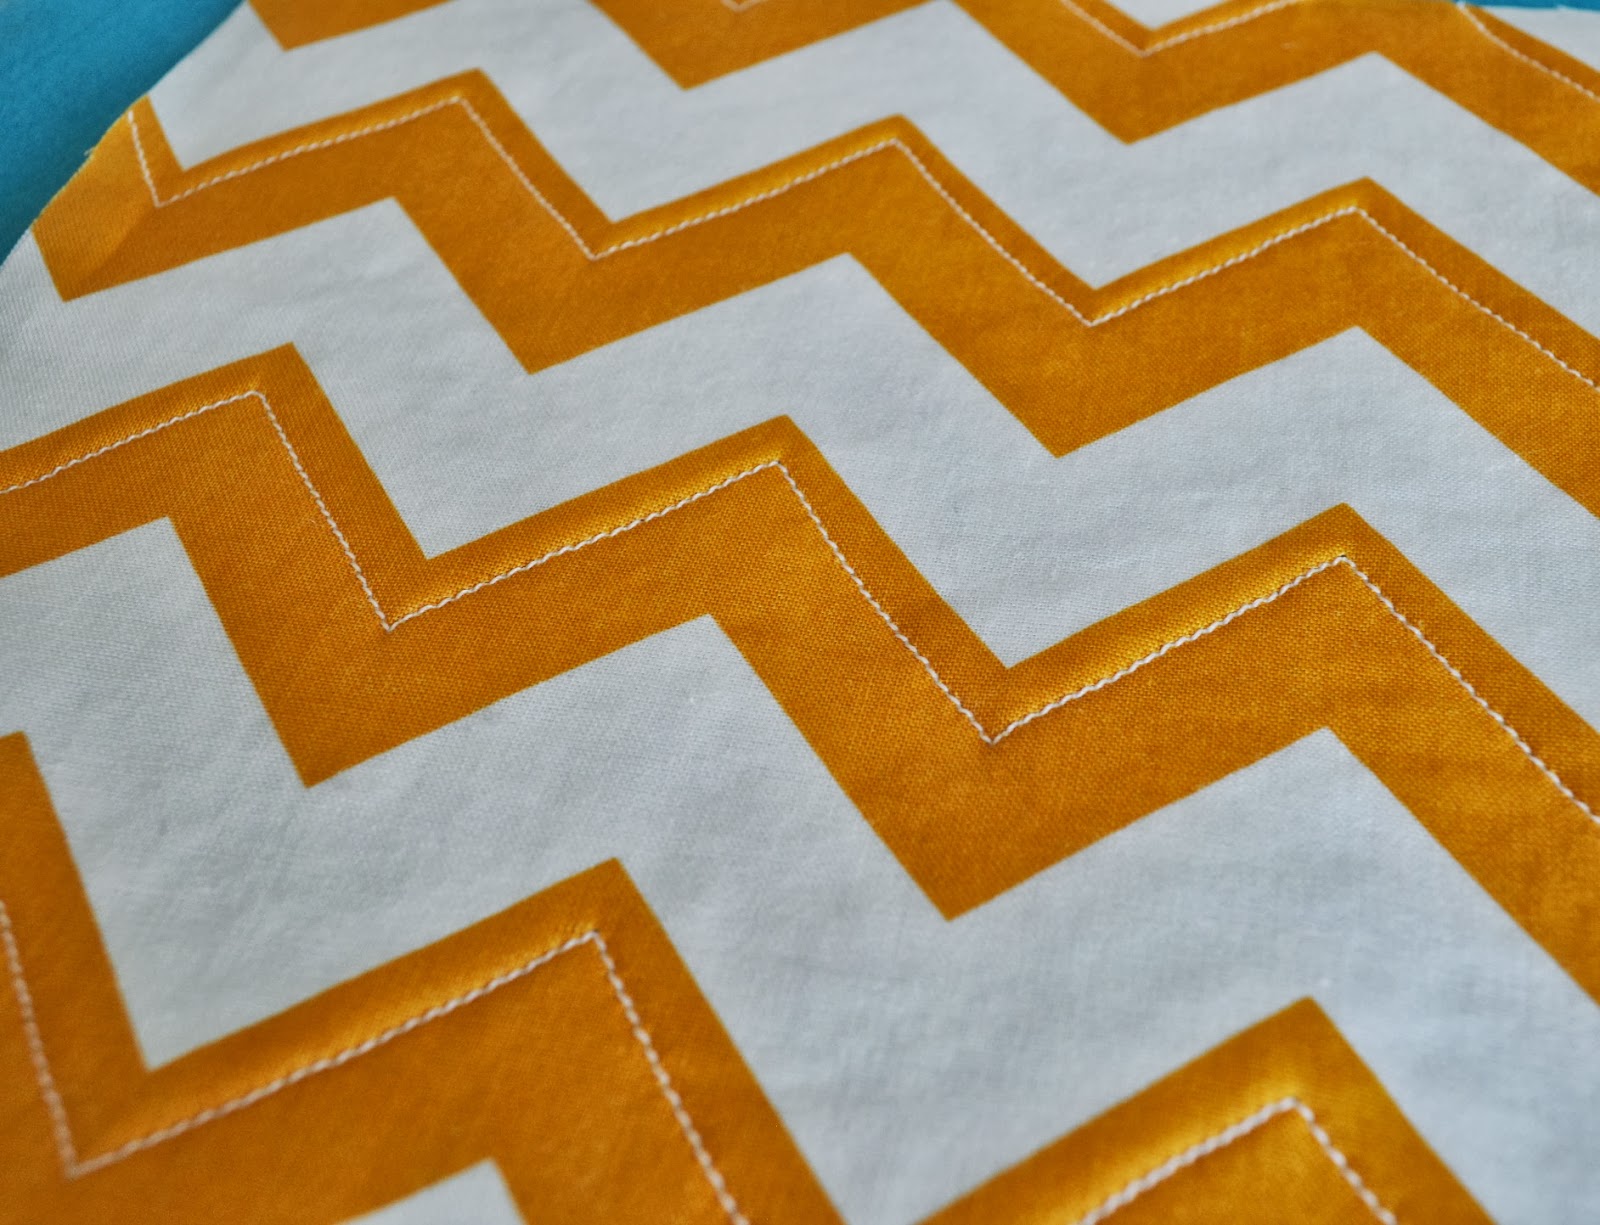
To accomplish the quilting, I fused the single-sided fusible batting to the back of the sihouette (making sure that the fusible side faced the fabric.).
I decided to just quilt along the chevrons.
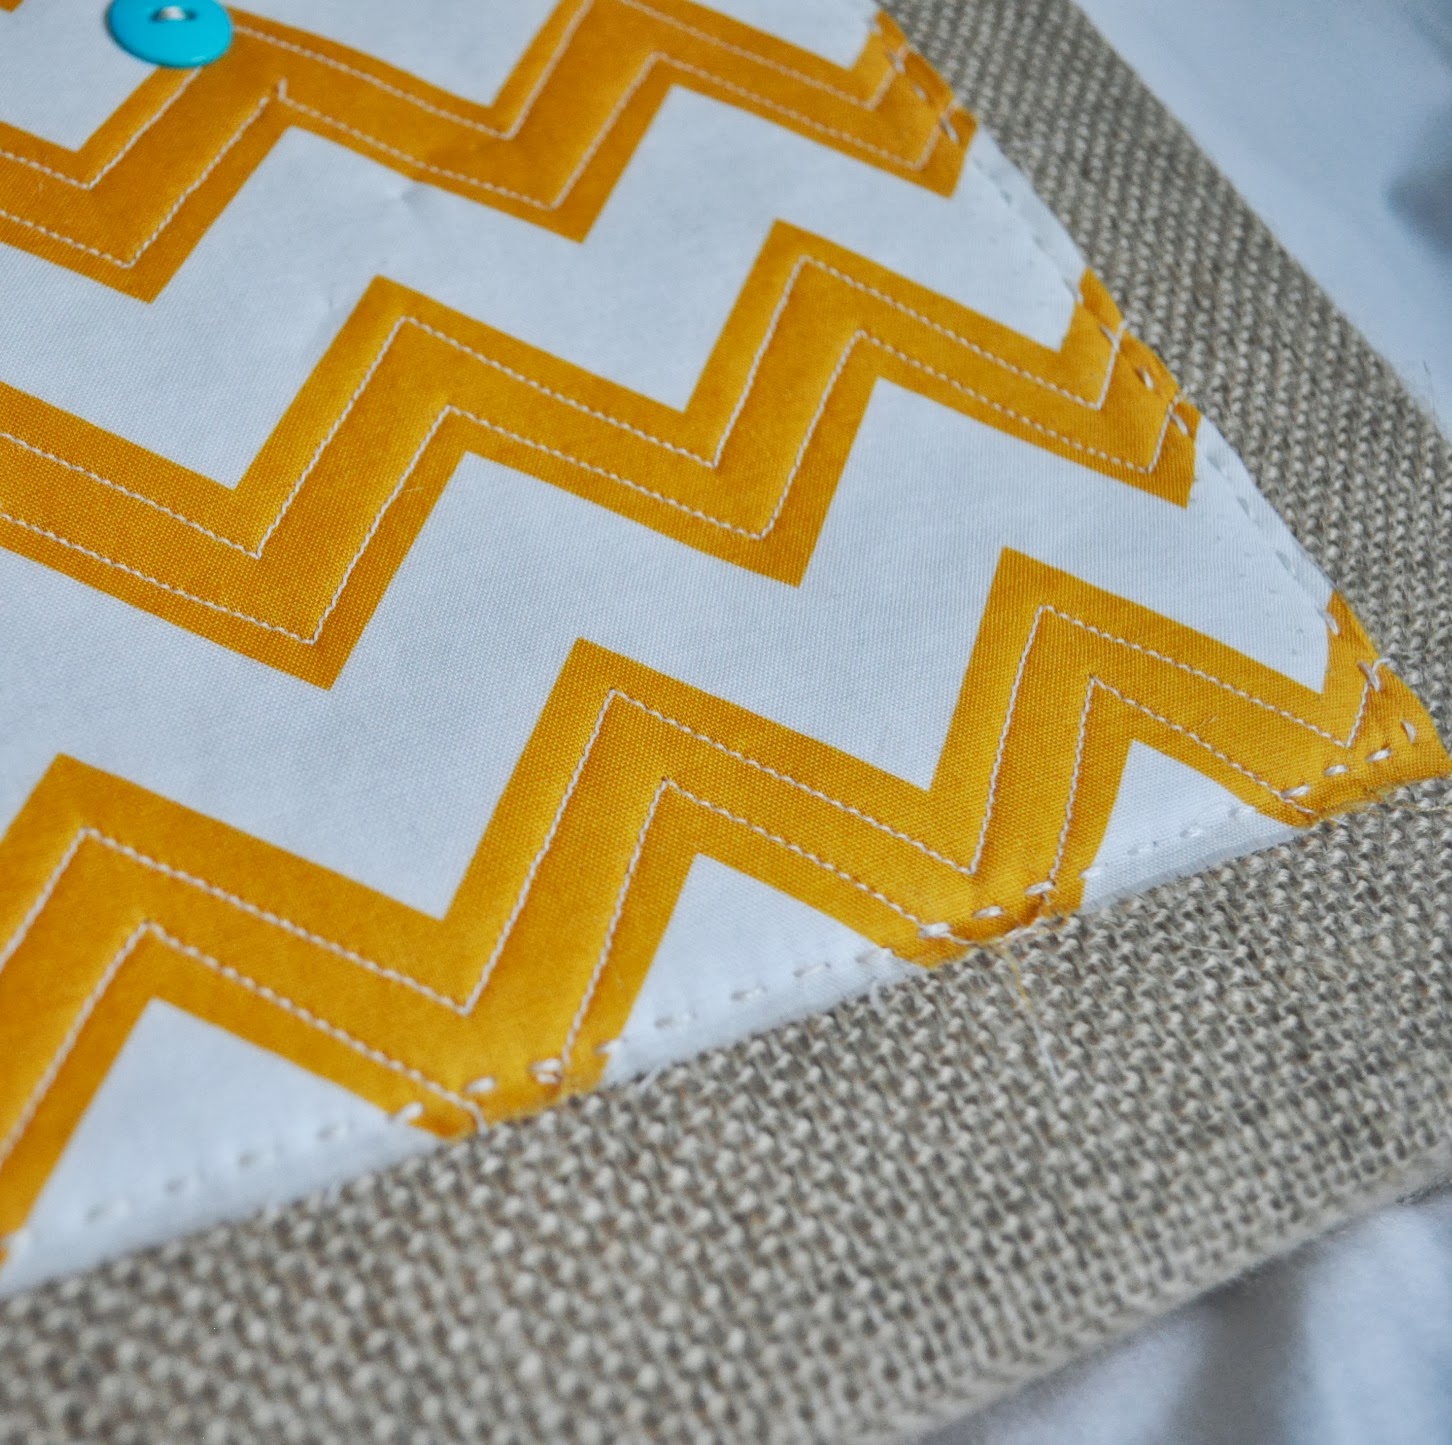
After I finished, I attached the silhouette onto the burlap by stitching a simple running stitch along the edges. I placed the button roundabouts where the city we lived in was.
I decided that I really wanted to include the name of each state with each silhouette so I used another freezer paper stencil to paint the name on the side of the silhouette (find out how here).
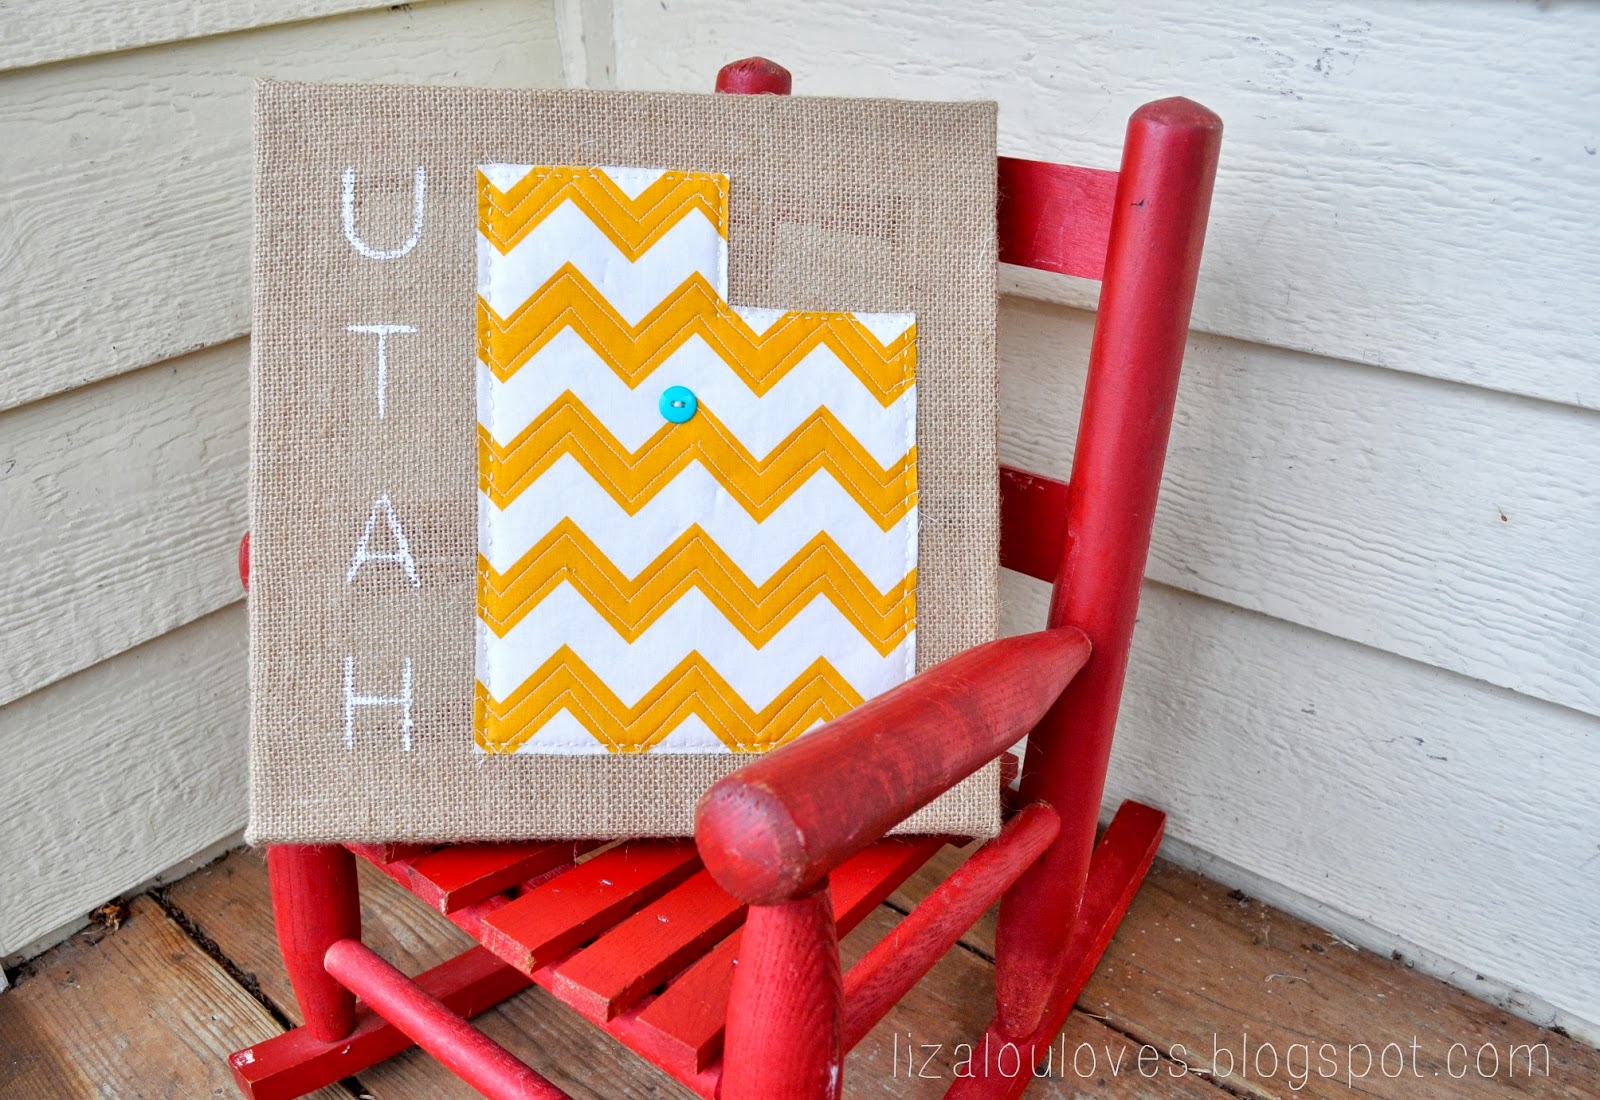
I am so excited with how these turned out and can’t wait to do the other three!
As always,
HAPPY CRAFTING!
Manuela@A Cultivated Nest
October 1, 2013 at 5:39 PM
What a really cute idea!
Leslie Lambert
October 3, 2013 at 7:41 AM
You did a great job with this…I love the attention to detail! This would be great to link-up to Create It Thursday #22…it’s live now! Hope to see you there!
Clydia Mangold
October 5, 2013 at 6:19 PM
This is awesome plus what a great tutorial! Thank you for linking up to ITS PARTY TIME. I shared your post via G+. xoxo, Three Mango Seeds