Friday, October 18, 2013
The holidays are always hard for us budget wise when it comes to decorating. I usually make a list of things that need to be bought for a particular holiday, and decorations are usually at the very bottom. For this Halloween in particular we have not one but TWO Trunk-or-Treats we are participating in. We also had to factor in the candy we needed for anyone who stopped by our home, so a big chunk of our budget went towards candy. Our two boys outgrew their costumes from last year and we had another little one to buy an outfit for, so another chunk of our budget went to replacing costumes (P.S. They are adorable!). By the time all of those things were taken care of we had a small amount left for decorations. I turned to my husband that night and said,
“I’m giving myself a $10 budget for decorations… and I’m sticking to it!”.
“I’m giving myself a $10 budget for decorations… and I’m sticking to it!”.
I set out to do just that.
The first thing I did was stop by JoAnn’s. It is absolutely crazy how early each holiday’s decorations get put on the shelves! I’m already seeing Christmas decorations and it’s not even past Halloween. ANYWAYS.. As much I am annoyed by it, it also means that the Halloween decorations go on sale quicker. When I went they were already 50 percent off. Awesome! I figured I would use half of my budget at JoAnn’s for pre-made decorations, and half on supplies for making some decorations myself.

A small pack of cobwebs with spiders (around $2.50) was enough to cover our entire porch and even have some leftover for other parts of our house.
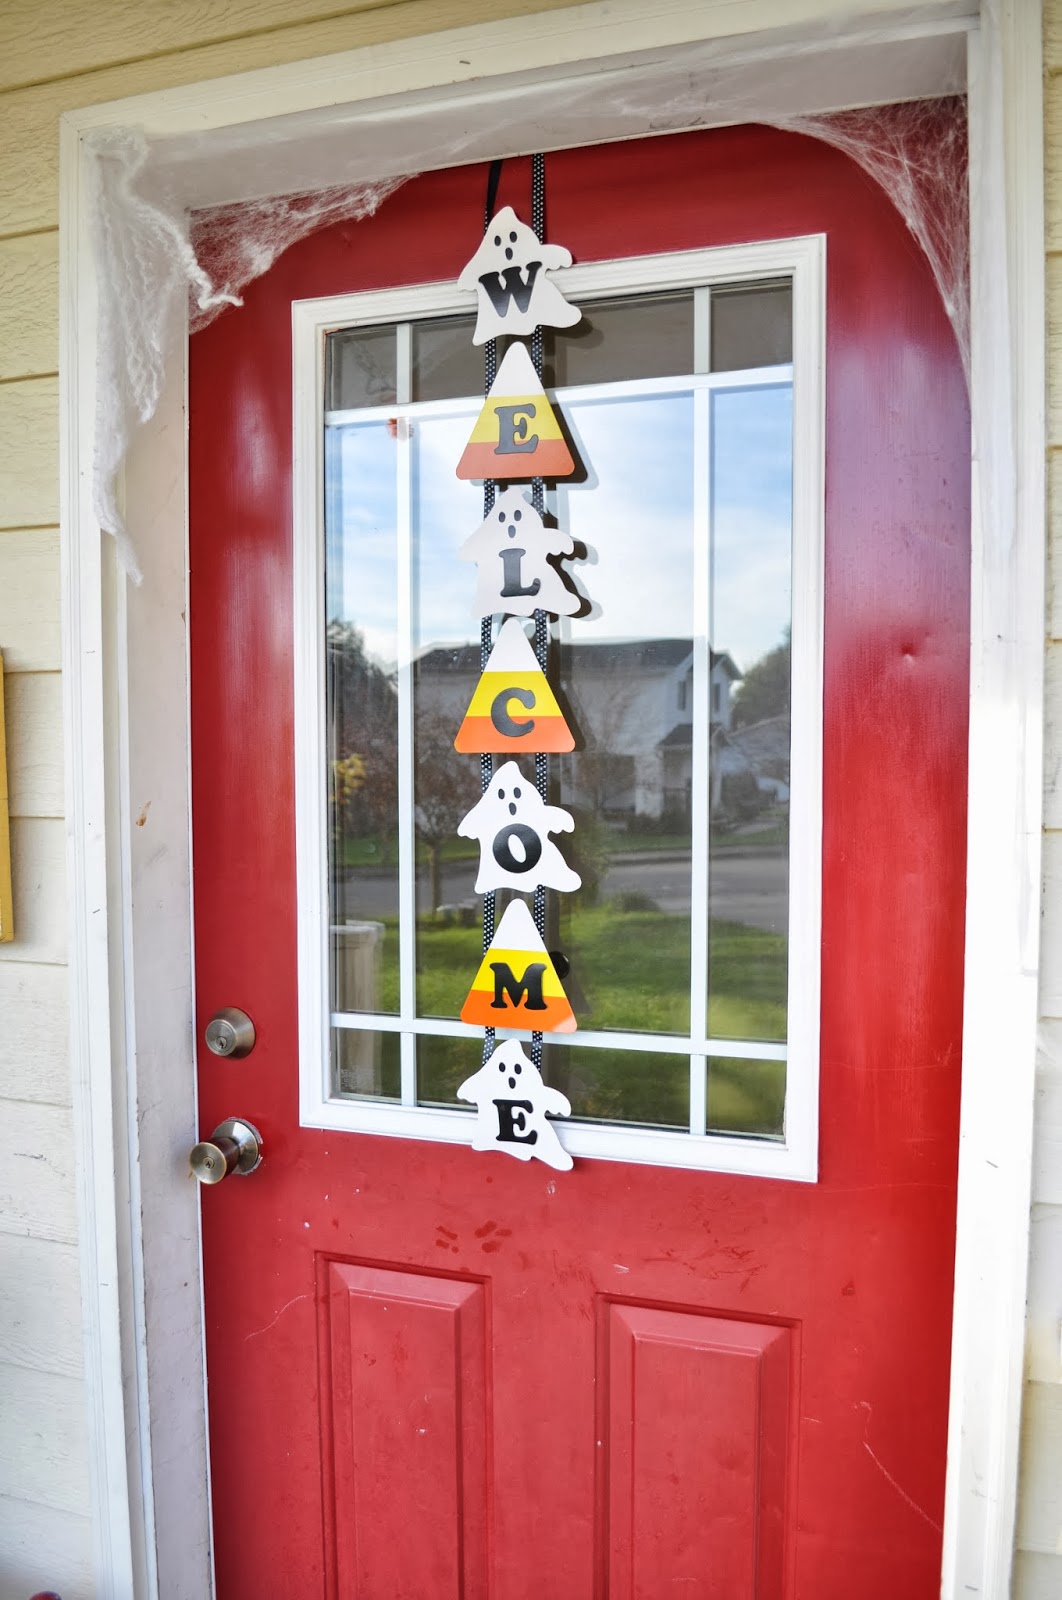
I realized later I probably could have made this door banner
(also around $2.50) with stuff I had on hand, but it was much easier to buy it and still SUPER cute!
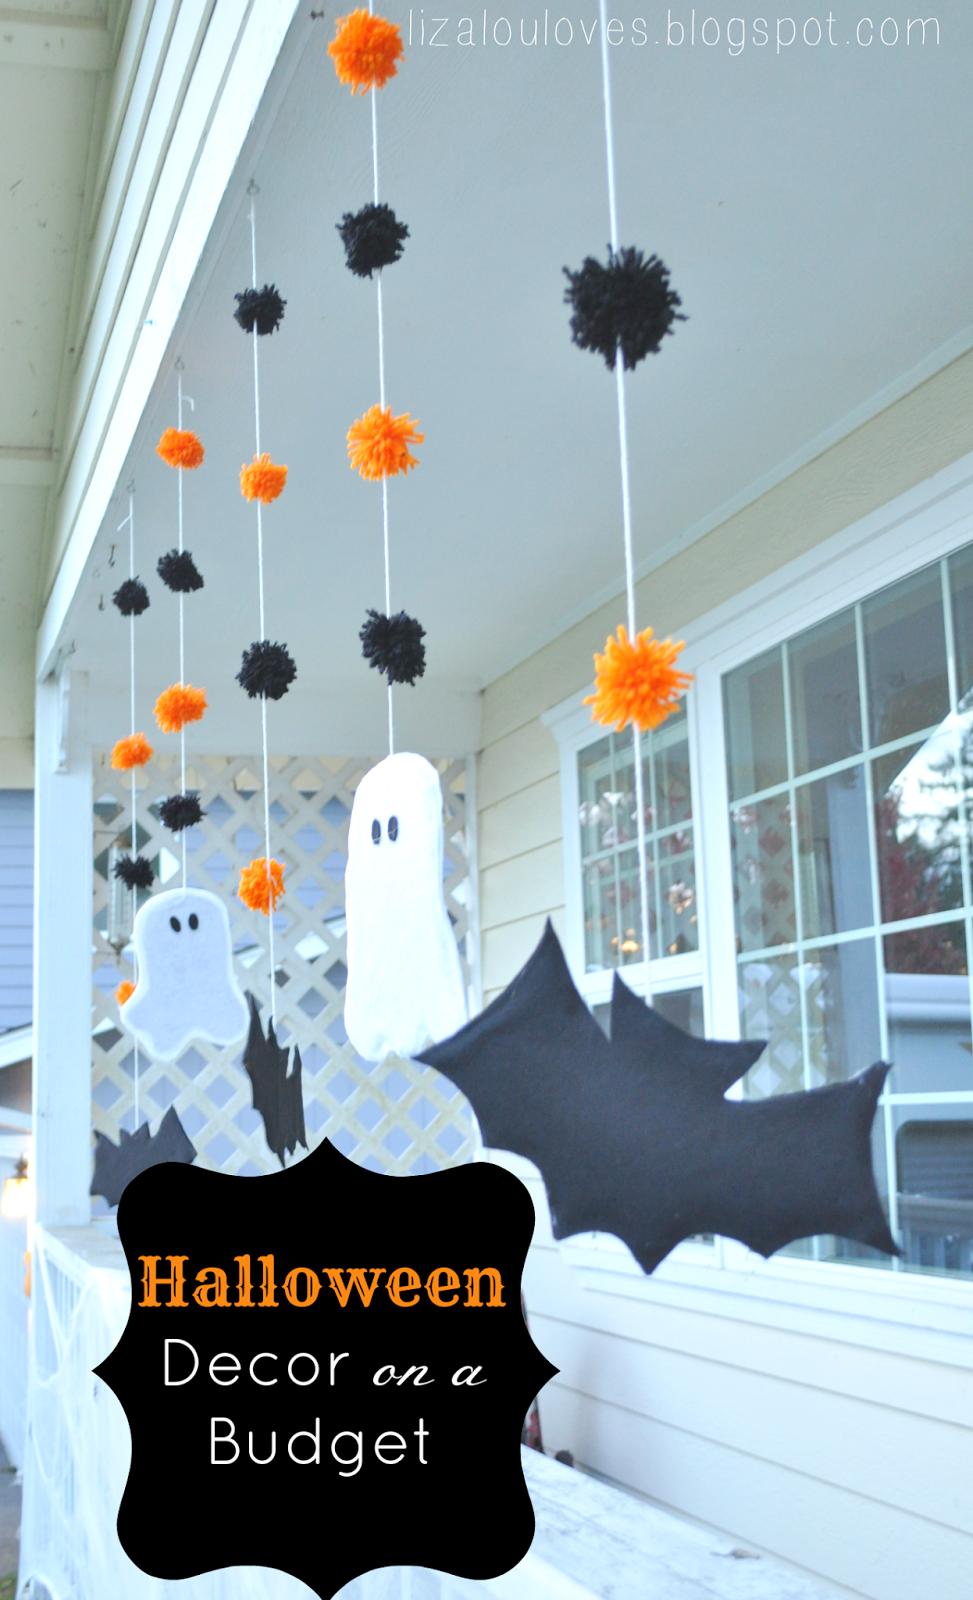
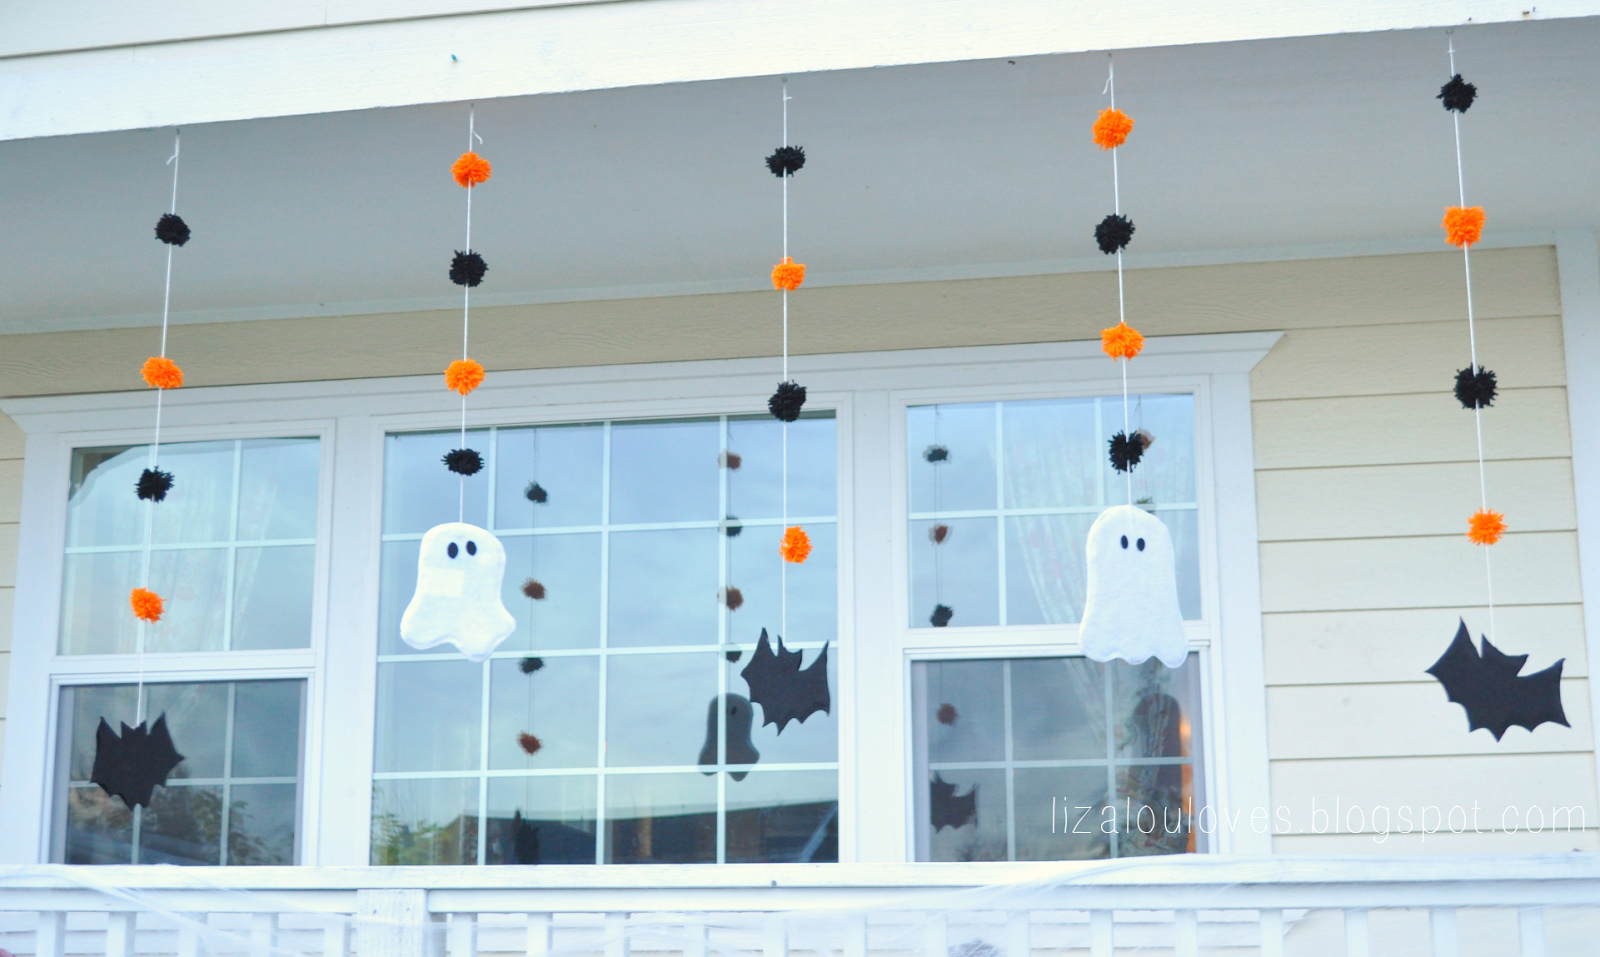
I decided I wanted to use the remaining budget to make something fun to hang on our front porch. I came up with an idea for hanging
bats/ ghosts/pom-poms decorations. All the materials costed around 5 dollars and I had a TON of supplies leftover.
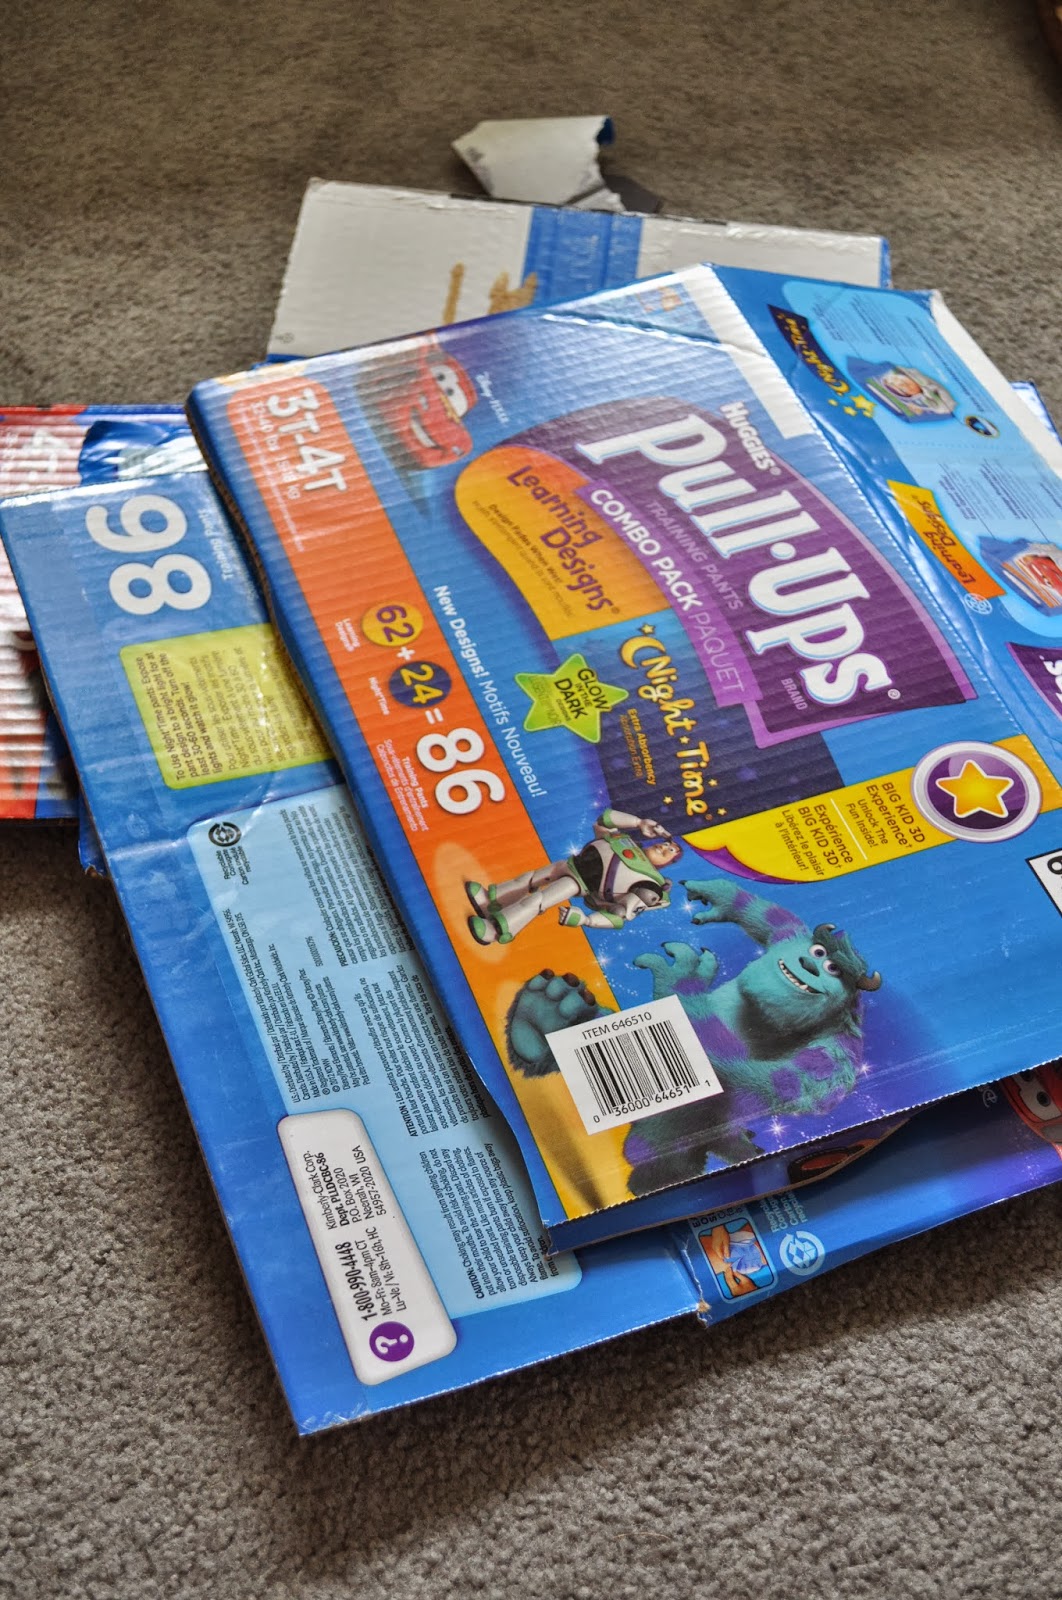
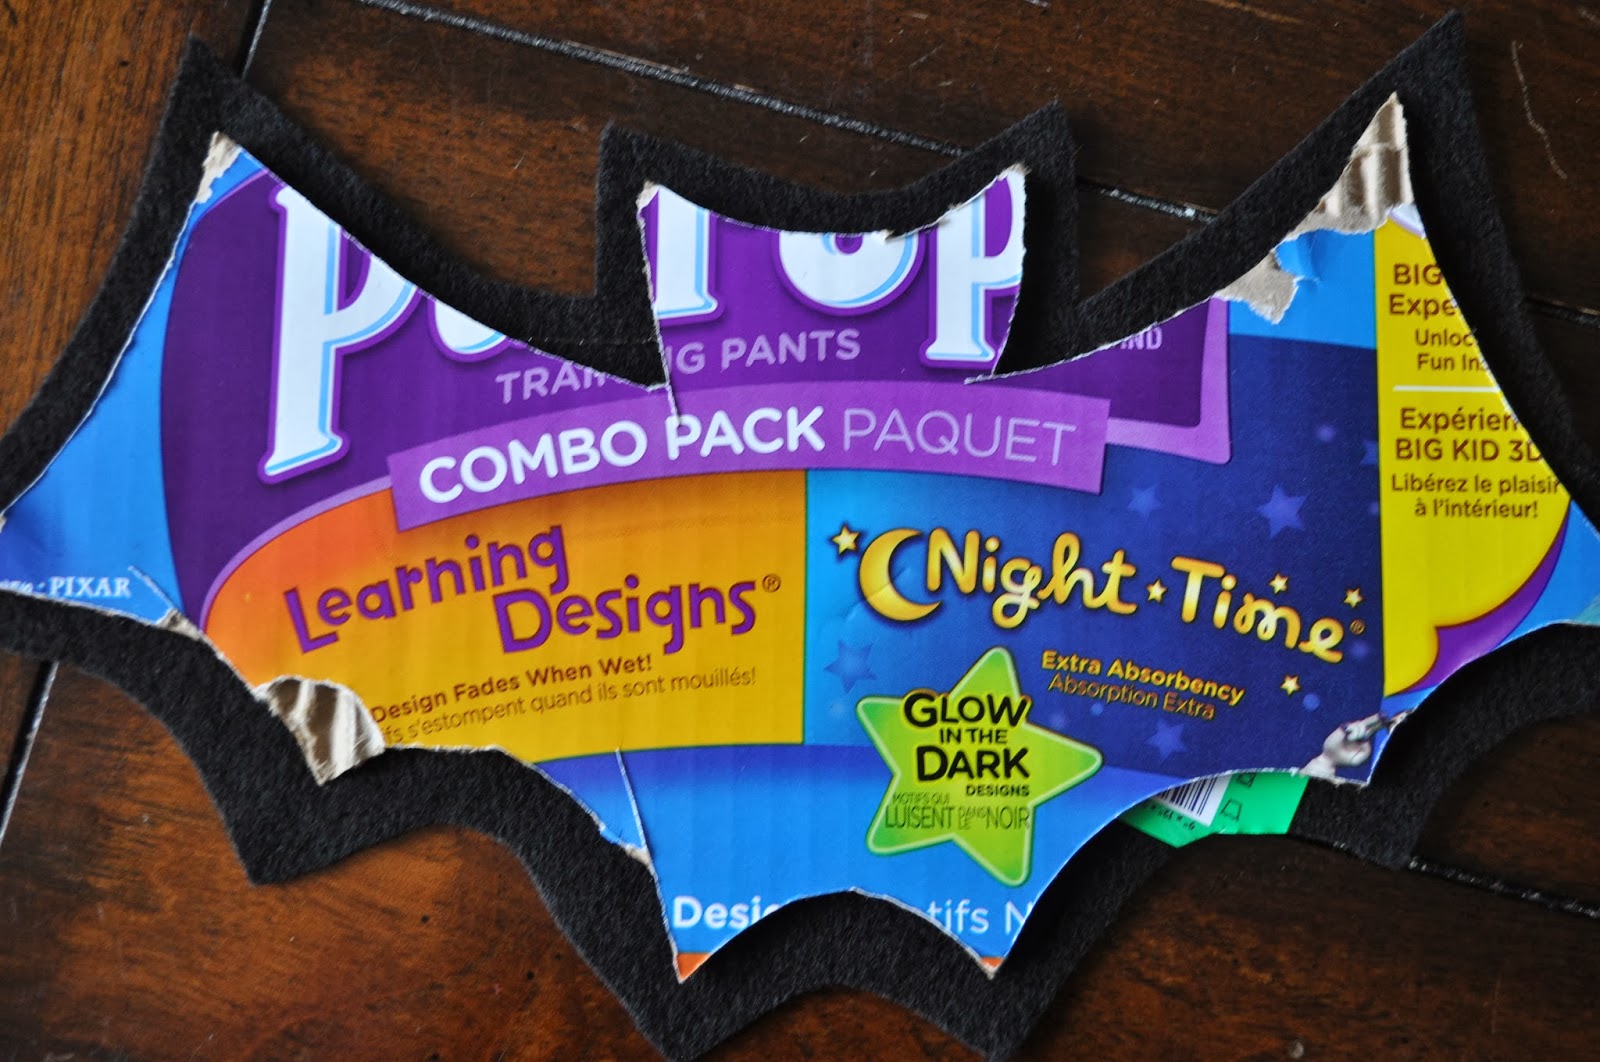
To make these I decided to use some diaper boxes to weight the cutout… and I had A LOT laying around.
Then, I traced some bats and ghosts for my shapes but you could do any shapes you wanted.
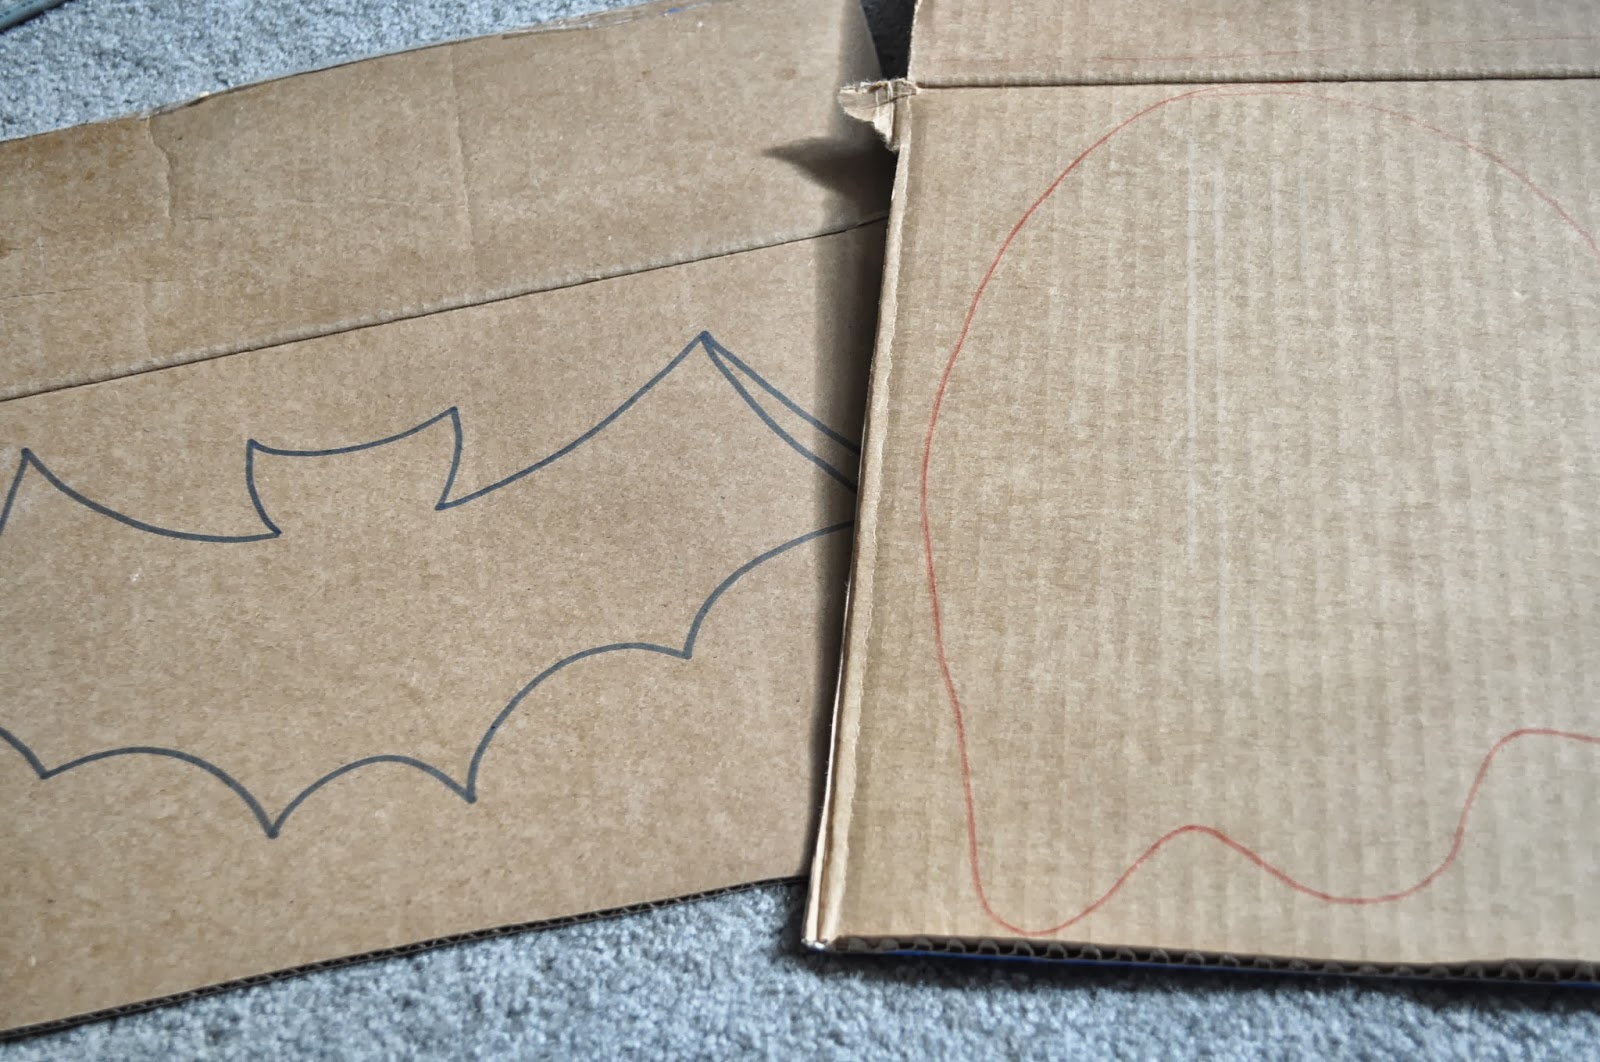
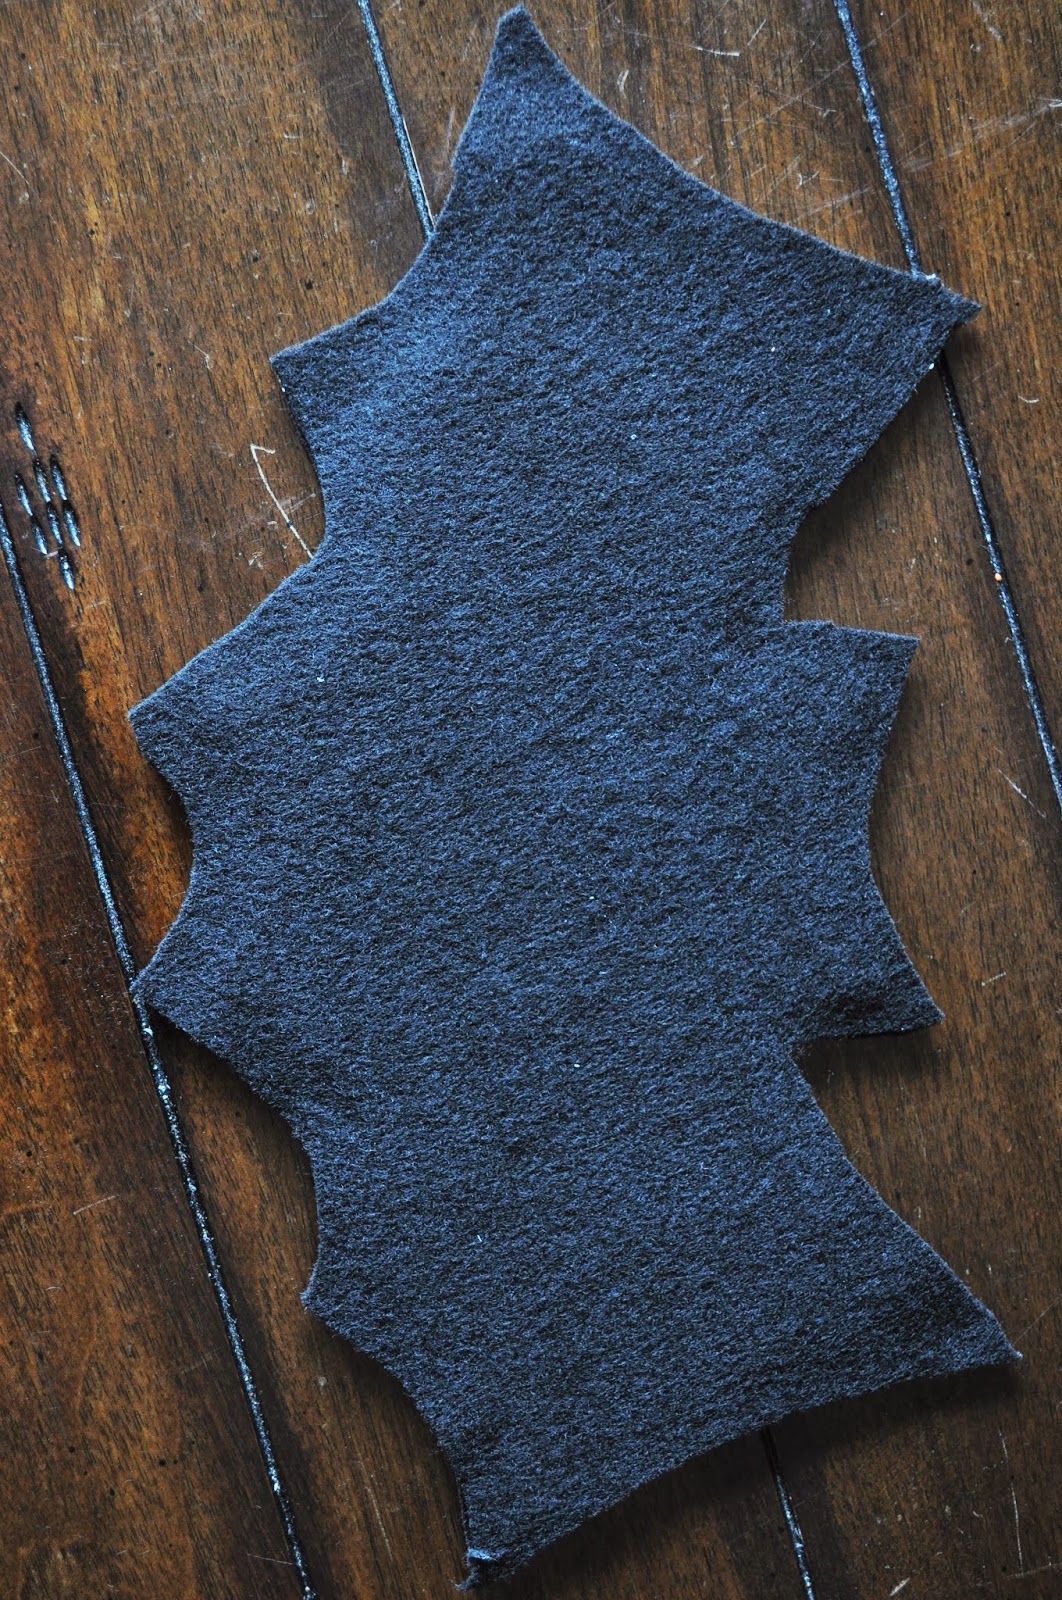
I cut the shapes out and then used them as a stencil for the felt.
I cut the felt out about 1/4″ bigger than the stencil. You will be making a sort of felt/cardboard/felt sandwich, so you’ll want to cut out TWO felt shapes for every ONE cardboard shape.
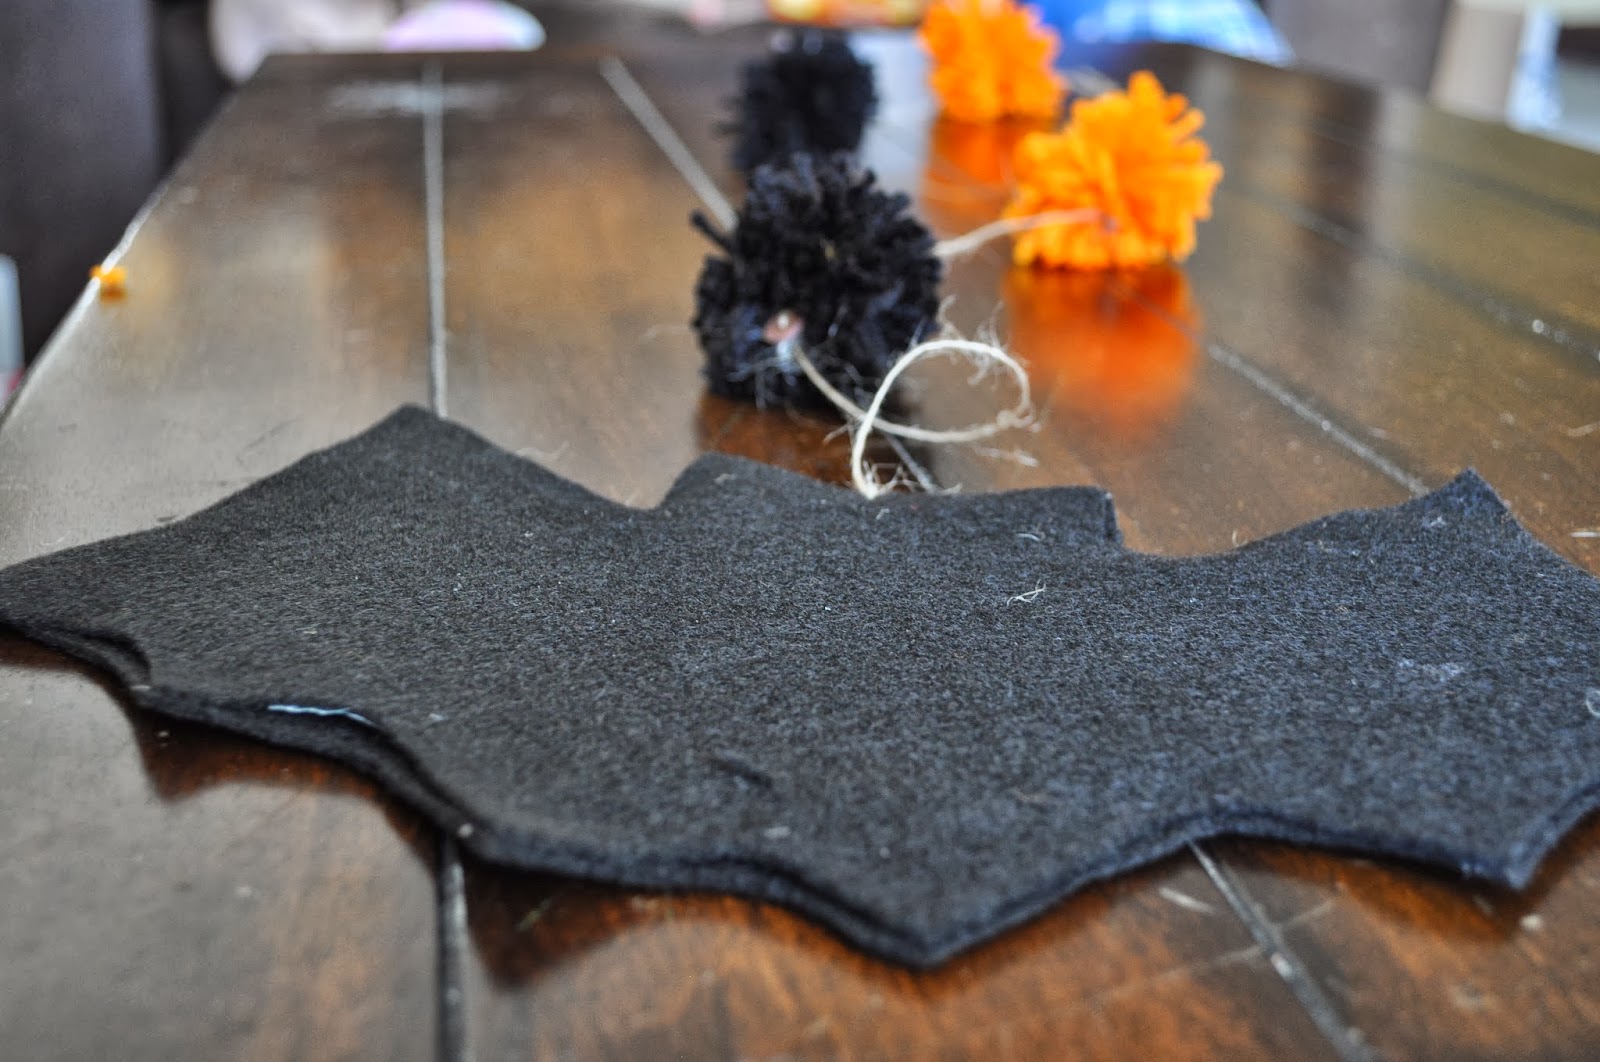
I grabbed my trusty glue gun and hot glued the cardboard cut out to the first piece of felt.
At this point I attached my length of string. I tried to glue at least 3-4 inches onto the cutout so it would be well anchored.
Next, I glued my second piece of felt to cover the other side of my diaper cardboard.
** This was my first one, and at this point I didn’t glue the string in between the felt/cardboard.
Let me tell you that anchoring it that way IS A MUST.
I had a couple of casualties that I am still unable to talk about. **
Next, I made a TON of pom-poms.
(Super easy and fun! I used this tutorial.).

There are only 5 here, but I made around 40!

Ready to thread on the pom poms!! I simply thread a large needle the top end of the string. This string was pretty thick, so a simple knot was all that was need to hold the pom pom in place. I would tie a knot where I wanted a pom pom to be placed and then use the needle to thread the line through the pom pom, letting it finally rest on the knot.

Tie a knot, thread the pom pom, repeat.
Then, voila!
Very inexpensive, and they turned out oh so cute!
What are some ways you decorate on a budget?
As always,
Happy Crafting!
Link Party-ing at:
JAQS Studio
Be Different, Act Normal
Link Party Palooza
Lemon Paper Designs
This Silly Girl’s Life
Sweet Haute
The Brambleberry Cottage
The Crafty Blog Stalker
52 Mantels
The Trendy Treehouse
Claire Hartburn
October 19, 2013 at 3:20 PM
Great project !!
I would love you to come and share @ Craft, Create & Inspire linky party !!!
Look forward to seeing you there 🙂
http://lemonpaperdesigns.blogspot.co.uk/2013/10/craft-create-inspire-linky-party-2.html
Claire x
LIZALOU
October 20, 2013 at 9:47 AM
Thank you for stopping by Claire! I will head on over to your link party.