Monday, October 3, 2011
Yesterday was Day 2 of my Crafting Over Sweeting challenge.
Yay for no sweets at all yesterday!! I realize I may seem overly excited about this because after all the purpose of the challenge is to not eat sweets. You have to understand, Sundays for me means dessert… lots of dessert. I love cooking big Sunday dinners with all sorts of yummy treats to eat afterward. However, this Sunday I didn’t, and I’m pretty proud that I resisted the temptation to make a big, lovely chocolate cake (courtesy of Miss Nigella). So I say Hurray!
Hurray for one more day!
Now to introduce our Day 2 craft:
Just Tie it On Hair Accessory
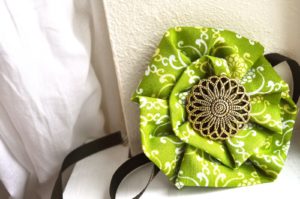
I like wearing this when I want to keep my simple and pulled back, but still want to be cutely accessorized.
For this craft you will need: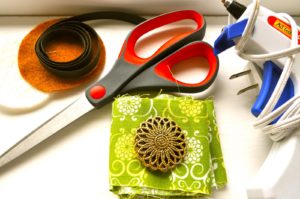
18-24 inches of ribbon
*Depending on headsize. Give a little extra since you will be tying it on. Mine measured at 22*
Two 2 1/2 inch circles
*One from quilt batting and one from felt. You could do both in felt if you prefer.)
2 1/2″ x 26″ strip of fabric
*I get mine from pre-cut jellyrolls*
1 Button
*Or other embellishment*
Glue Gun and Scissors
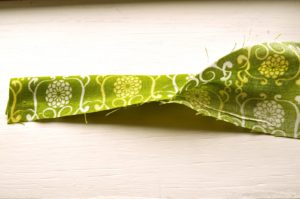
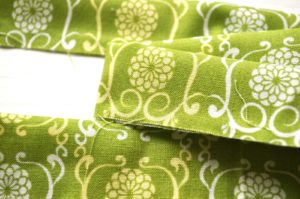
Take the fabric and glue the whole length in half, like so:
You’ll end up with this:
Take your quilt batting circle and put a dot of glue in the center.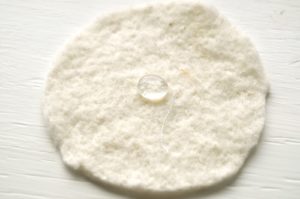
Place glued side of fabric strip on glue dot and press firmly
(Remember, do not burn yourself!).
Place another dot of glue on top of fabric strip.
Fold the fabric strip down onto glue dot and press down.
(Again, don’t burn yourself!)
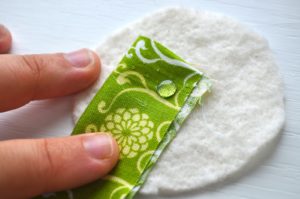
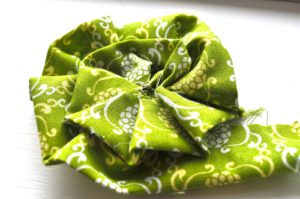
Now you are going to gluing the fabric around the middle point, kind of folding or scrunching the fabric as you go.
(I will say it again, be careful… glue guns are delightful, but they do have a nasty temper.)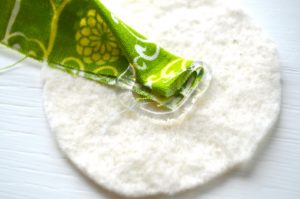
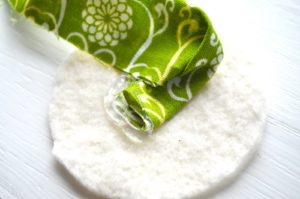
Keep going…
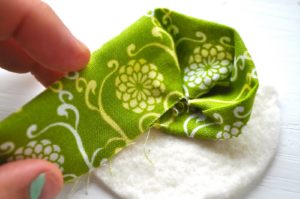
Glue, fold, scrunch, repeat.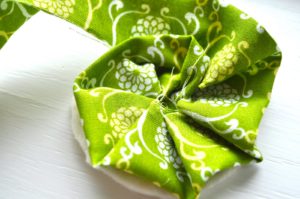
See it’s easy and getting so pretty!
**Helpful Hint: If any of the folds pop up, just discreetly secure with another dot of glue.**
You are going to have a little tale at the end. Place a dot of glue beneath the fabric and fold fabric inward to create a nice finished looking edge.
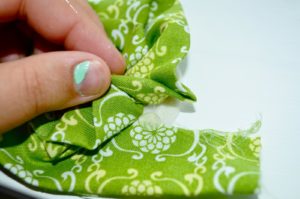
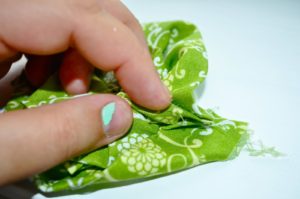
Then glue the rest of the tail on the back of the circle.
Before doing our next step, take the length of ribbon and figure out where you want to place your flower. Then glue a line on the back of the circle and secure the ribbon.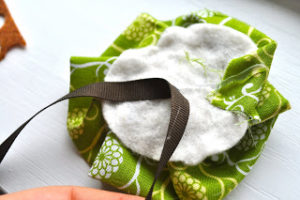
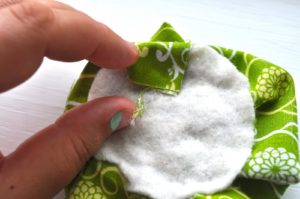
Take your felt circle and glue onto the back neatly cover everything up.
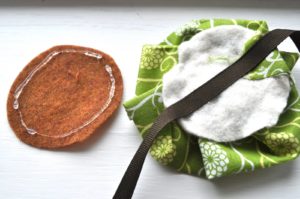
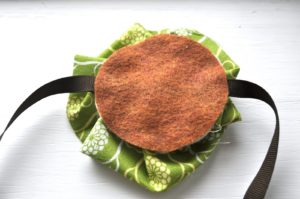
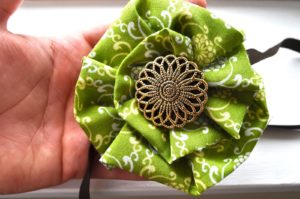
Take your awesome button and glue into center of folded flowery awesomeness.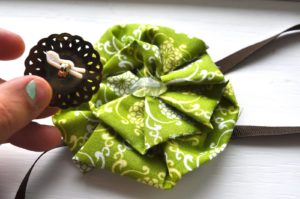
Ta-Dah! Just tie it on and your ready to go!
**Helpful Hint: My crafty friend Kayla gave me some great advice. To prevent fraying on the ends of the ribbon just singe it lightly with a lighter. The ribbon will kind of melt on the end and you’ll never fray again!)
Happy Crafting!
Leslie
October 3, 2011 at 6:40 PM
SOO cute!!! I LOVE that button, it gives the hair piece a lot of character!
Alix
October 4, 2011 at 7:19 PM
Cute!
Lisa @ Organized Chaos
October 4, 2011 at 7:55 PM
I love it! I’m obsessed with fabric flowers right now…this is an awesome tutorial!~ 🙂 Going to make this soon!
~Lisa
