Sunday, October 2, 2011
Crafting Over Sweeting Day 1:
*I followed Amanda’s example at The Penny Parlor and made it for under $1*
Assorted yarn of preferred colors
*yard sale find for about 5 cents*
2-5 sheets of felt
*depending on how many flowers you want to do.
Felt with cost about 30 cents, 20 cents if you find it on sale.*
Hot glue gun
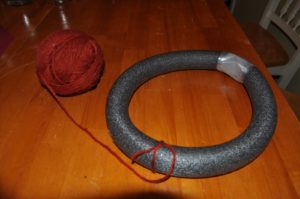
*my best crafting friend*Tie chosen color of yarn around wreath and knot securely. Use glue gun to secure knot in place of where you want the back of the wreath to be.
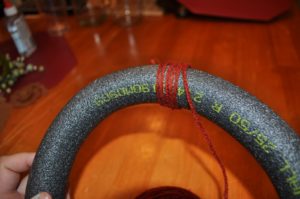
and wrapping…
**Helpful Hints: Having the yarn in a ball makes this process a lot easier. This is also a good time to turn on a movie, mine was the 80’s classic Pretty in Pink.)
Once you have completely wrapped the wreath in yarn, secure end of the yarn
with another dot of glue. There, you did it!
Now onto the felt flowers!
You can start from a square or a circle, whichever you prefer.
*Depending on what size of flower you want, you can really start with any size.
Mine were made with 3-4 inch squares. *
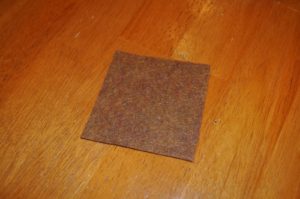
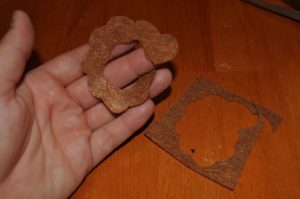
Make small scallop cuts into a spiral towards the center. One of the reasons I chose squares is because of the scalloped edges. Squares just seem to give a little leeway.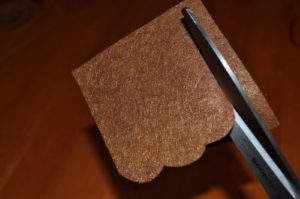
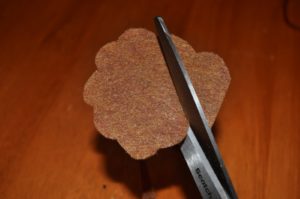
Cut of any remaining felt.
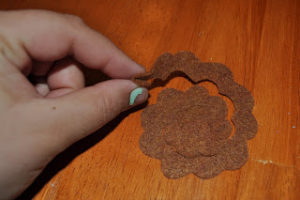
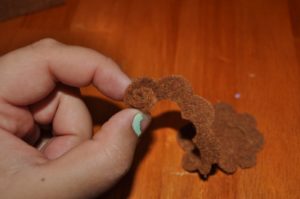
Aww, cute scalloped-spirally loveliness!
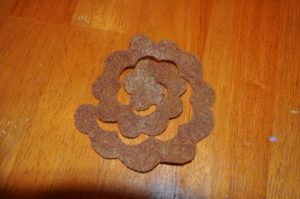
Now, you’re going to start wrapping the flower starting from the end.
Flip your flower over and glue end to the bottom with your nifty glue gun and…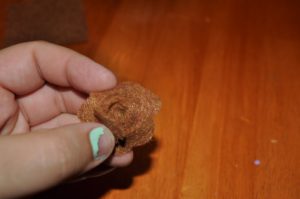
Ta-Dah!!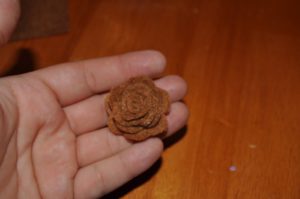
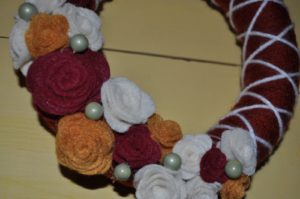
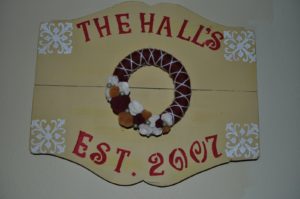
Now it’s the fun part. Play around and see what you like! After you’ve found out what you like and where you want everything, secure the flowers with glue. I used some balls from another wreath and added a criss-cross with white yarn to the wreath.
Happy Crafting!!
